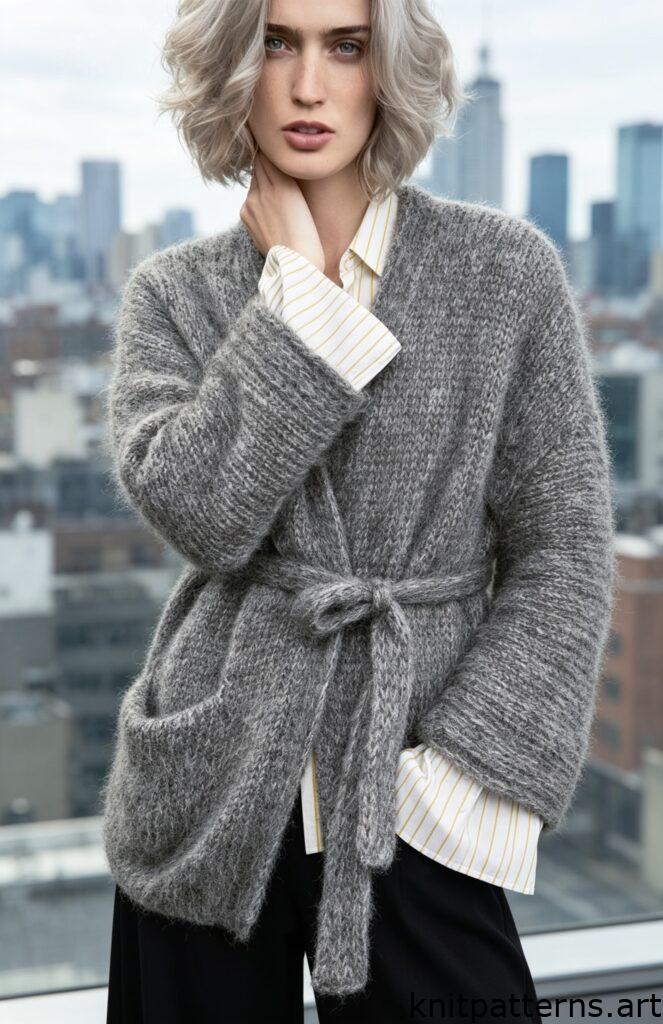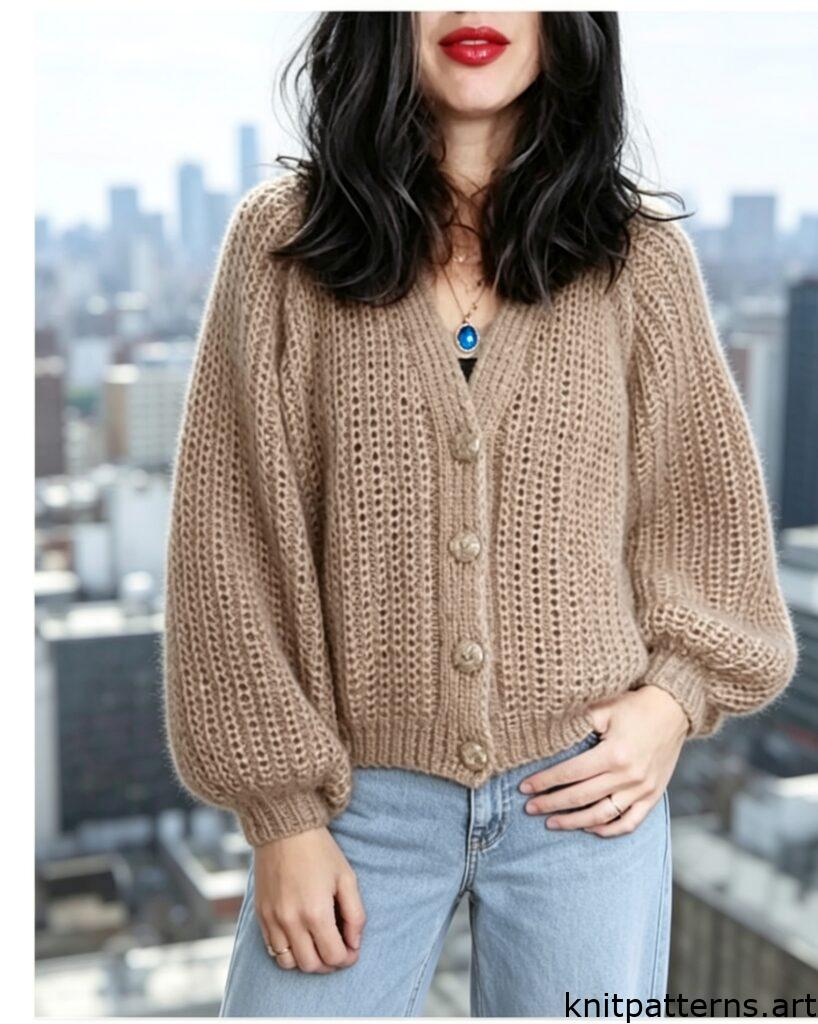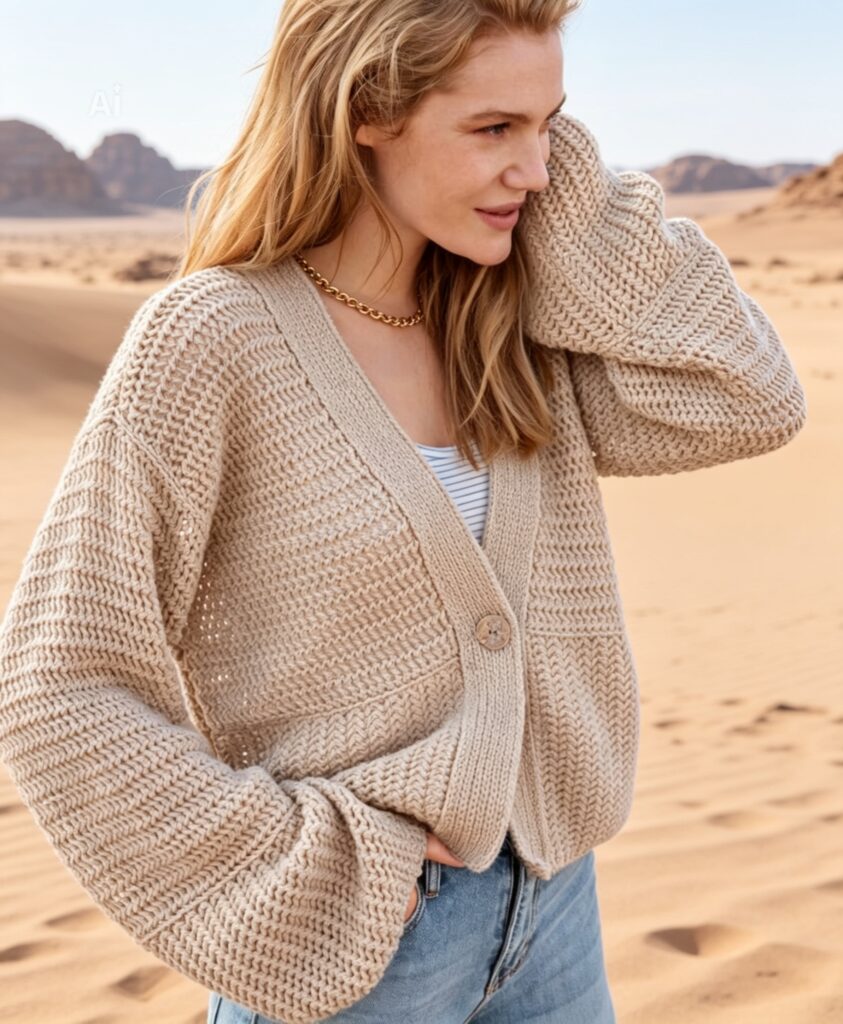
Looking for a summer simple cardigan knitting pattern free that works up quickly and looks beautiful over tanks and dresses? This lightweight lace mesh jacket features an airy, open stitch that breathes easily on warm days. The construction combines horizontal and vertical knitting for a custom fit, and the button band adds a polished finish. Best of all, this summer simple cardigan knitting pattern free uses basic increases and decreases, making it approachable for confident beginners. Whether you need a beach cover-up or a casual office layer, this free pattern delivers style and comfort. Grab your needles and cotton yarn – this summer simple cardigan knitting pattern free is ready when you are.
PATTERNS
Patent Edge (2 sts):
On RS rows: At beginning of row – knit 1, slip 1 purlwise with yarn in back. At end of row – slip second-to-last stitch purlwise with yarn in back, knit last stitch.
On WS rows: At beginning – slip 1 purlwise with yarn in front, purl next stitch. At end – purl second-to-last stitch, slip last stitch purlwise with yarn in front.
Note: The sleeve cap is worked with the patent edge!
Chain Edge:
Knit the first stitch of every row. Slip the last stitch of every row purlwise with yarn in front.
Note: Work all edges this way except the sleeve cap!
Mesh Pattern (Lace Lattice):
Work according to Chart A. Numbers on the right outer edge indicate RS rows, numbers on the left outer edge indicate WS rows. Begin with stitches before the first arrow, repeat the 2-stitch repeat between the arrows, end with stitches after the second arrow. The chart shows 3 repeats for clarity. Work rows 1–2 once, then repeat these 2 rows throughout.
Decreases B (Lower Edges):
Work according to Chart B. Numbers on the right outer edge indicate RS rows, numbers on the left outer edge indicate WS rows. Decreases for the right side are shown before the first arrow, then the mesh pattern, then decreases for the left edge after the second arrow. These decreases are worked on RS rows with increases. See note – WS rows d and f. Work rows a through f once, then repeat rows c through f once. Each time 1 stitch is decreased. The number of stitches in the mesh pattern between decreases decreases as you go.
Increases C (Upper Edges):
Work according to Chart C. Numbers on the right outer edge indicate RS rows, numbers on the left outer edge indicate WS rows. Increases for the right side are shown before the patent edge (2 gray stitches = rows 4 and 8 (WS rows). One repeat is increased. Rows 5–7 and 9–10 show how to work over the increases. On the left side = chain edge. In height, work rows 3–10 twice.
Gauge:
13 sts and 30 rows in pattern on US size 8 (5 mm) needles = 4″ × 4″ (10 × 10 cm).
INSTRUCTIONS
Note: The pieces are worked both horizontally and vertically. Arrows indicate the knitting direction.
Back Upper Section (worked horizontally)
Start with the right edge. Using US size 8 (5 mm) needles, cast on 18 sts. Work Mesh Pattern with Chain Edge.
For the armhole shaping, increase 2 sts in row 3 from the beginning, then increase 2 sts every RS row 3 more times, and for the sleeve height increase 20 (22) sts once = 46 (48) sts.
Work straight for shoulder width. After 14 (16) cm = 42 (48) rows of shoulder width, bind off 2 sts for the neckline, then bind off 2 sts once more in the next RS row = 42 (44) sts.
Continue straight for the neckline width. After 8 cm = 24 rows of neckline width, the center back is reached. The decreases become increases and vice versa for the second half.
After the following row, bind off the remaining 18 sts.
Back Lower Section (worked top down)
Cast on 68 (72) sts along the lower edge of the back upper section using US size 8 (5 mm) needles. Work Mesh Pattern with Chain Edge, beginning with a WS row.
After 15 cm = 45 rows from the beginning of the back lower section, decrease 4 times 1 stitch every RS row, working Decreases B from row c.
After 3 cm = 10 rows from the decreases, bind off the remaining 60 (64) sts.
Left Front Upper Section (worked horizontally)
Start with the left edge. Using US size 8 (5 mm) needles, cast on 18 sts. Work Mesh Pattern.
Work the armhole shaping the same as for the back = 46 (48) sts.
Work straight for shoulder width. After 14 (16) cm = 42 (48) rows of shoulder width, bind off for the neckline curve on the right side 14 (16) sts, then bind off 4 sts every RS row 8 more times. All stitches of one side are now used up.
Left Front Lower Section
Attach to the left front upper section. Cast on 32 (34) sts along the lower edge of the left front upper section using US size 8 (5 mm) needles. Work Mesh Pattern, beginning with a WS row.
After 15 cm = 45 rows from the beginning, decrease 4 times 1 stitch every RS row on the left side, working the same as the back left side.
After 3 cm = 10 rows of slope height, bind off the remaining 28 (30) sts.
Right Front Upper and Lower Sections
Work symmetrically to the left front sections.
Sleeve Upper Section (worked horizontally)
Arrows indicate knitting direction. Cast on 43 sts using US size 8 (5 mm) needles. Work Mesh Pattern with Patent Edge on the right side and Chain Edge on the left side.
For the slope on the right side, begin with increases from row C-4, then increase 1 stitch every 4th row 3 more times = 47 sts.
After 6 cm = 18 rows from the beginning, place a marker on the right side and continue straight.
After 30 (32) cm = 90 (96) rows from the marker, decrease 1 stitch on the right side, then decrease 1 stitch every 4th row 3 more times, working the Patent Edge.
After 6 cm = 18 rows of slope height, bind off the remaining 43 sts.
Sleeve Lower Section
Attach to the sleeve upper section following the same method as for the back. Cast on 58 (60) sts along the lower edge of the sleeve upper section using US size 8 (5 mm) needles. Work Mesh Pattern, beginning with a WS row, and mark the center 4 sts.
After 15 cm = 45 rows from the beginning, bind off 4 times 1 stitch every RS row, working the same as the back lower edge. At the same time as the decreases, decrease 4 times 2 stitches every RS row as follows: yarn over, slip next stitch knitwise, knit 3 stitches together, pass slipped stitch over.
After 3 cm = 10 rows of slope, bind off 42 (44) sts.
Button Band (make 2)
Using US size 2.5 or 3 (3.25 mm) needles, cast on 8 sts. Work according to Chart D without edge stitches. Numbers on the right outer edge indicate RS rows, numbers on the left indicate WS rows. In width, 7 stitches are increased across the 8 sts in row 1 = 15 sts. Work rows 1–4 once, then repeat rows 3–4 throughout.
After 18 cm (approx. 7″) from the cast-on edge, work a buttonhole. On a RS row, after the 7th stitch, yarn over and knit the next 2 stitches together. Continue in pattern.
After 65 (66) cm (approx. 25.5″ – 26″) of band length, bind off all stitches.
Finishing
Pin finished pieces to measurements, dampen, and allow to dry completely. Sew all seams. Sew the narrow ends of the button band together. Attach the button band (buttonhole on the right front upper section). The band seam sits at the center back.
This summer simple cardigan knitting pattern free of lace and mesh creates a lightweight, breathable garment perfect for warm weather.
Set in the sleeves. Sew on the button.
You have just completed a summer simple cardigan knitting pattern free – an airy layering piece for spring and summer evenings.
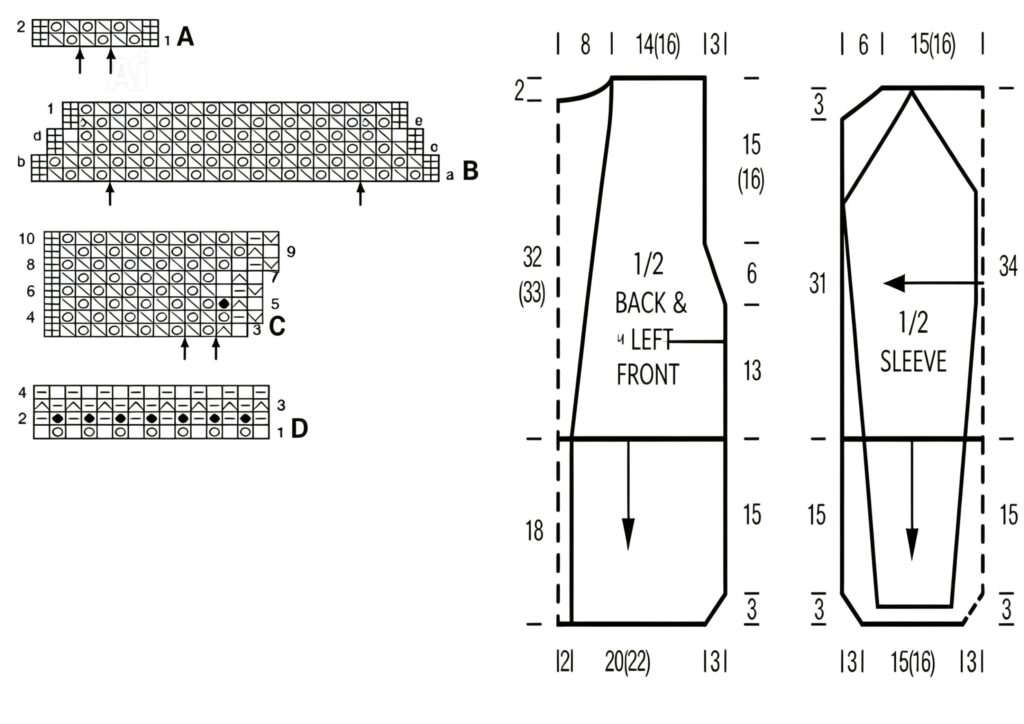
Symbol Key
✚ = edge stitch / selvedge stitch
𖣐 = knit 1 (k1)
━ = purl 1 (p1)
⚪ = yarn over (yo)
♦︎ = knit 1 through the back loop (k1 tbl)
╲ = slip 1 knitwise, knit 1, pass slipped stitch over (skp)
◝ = slip 1 knitwise, knit 2 together, pass slipped stitch over (sk2p)
⌃ = slip 1 purlwise with yarn in back (sl1 p wyib)
⌄ = slip 1 purlwise with yarn in front (sl1 p wyif)