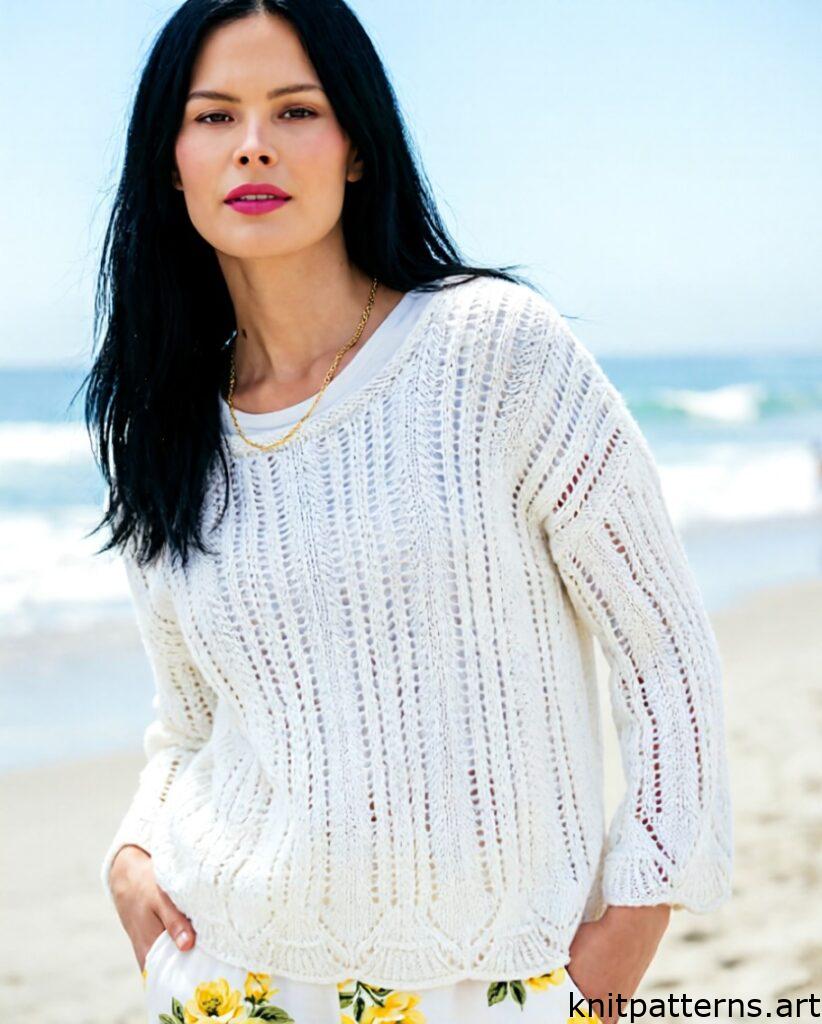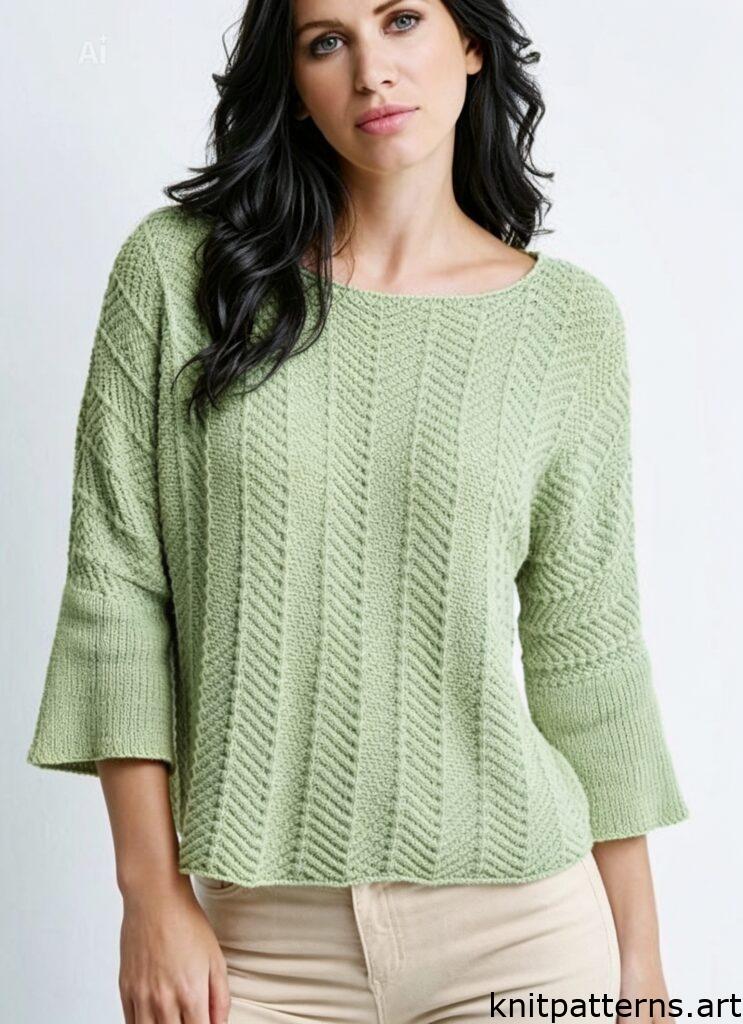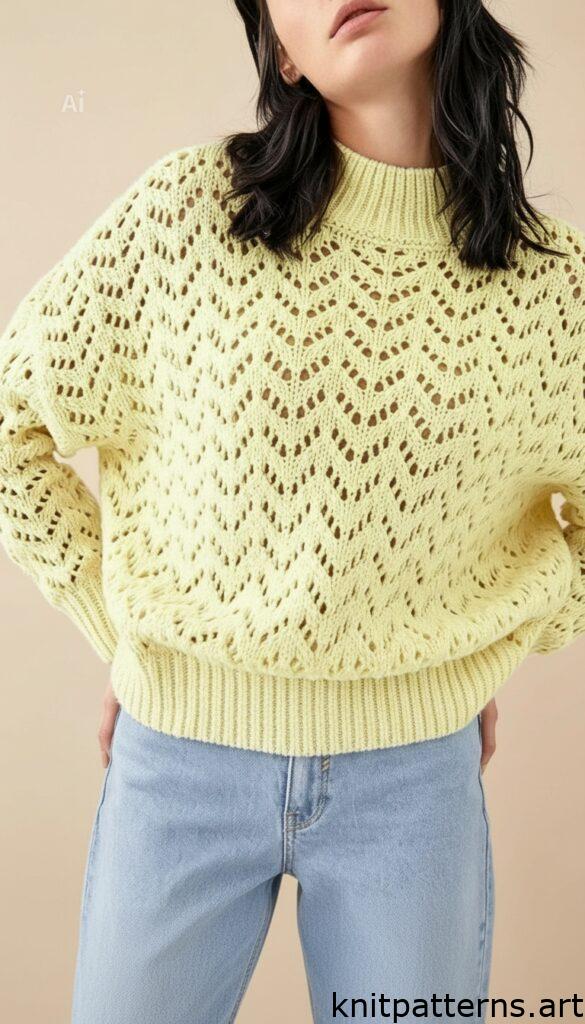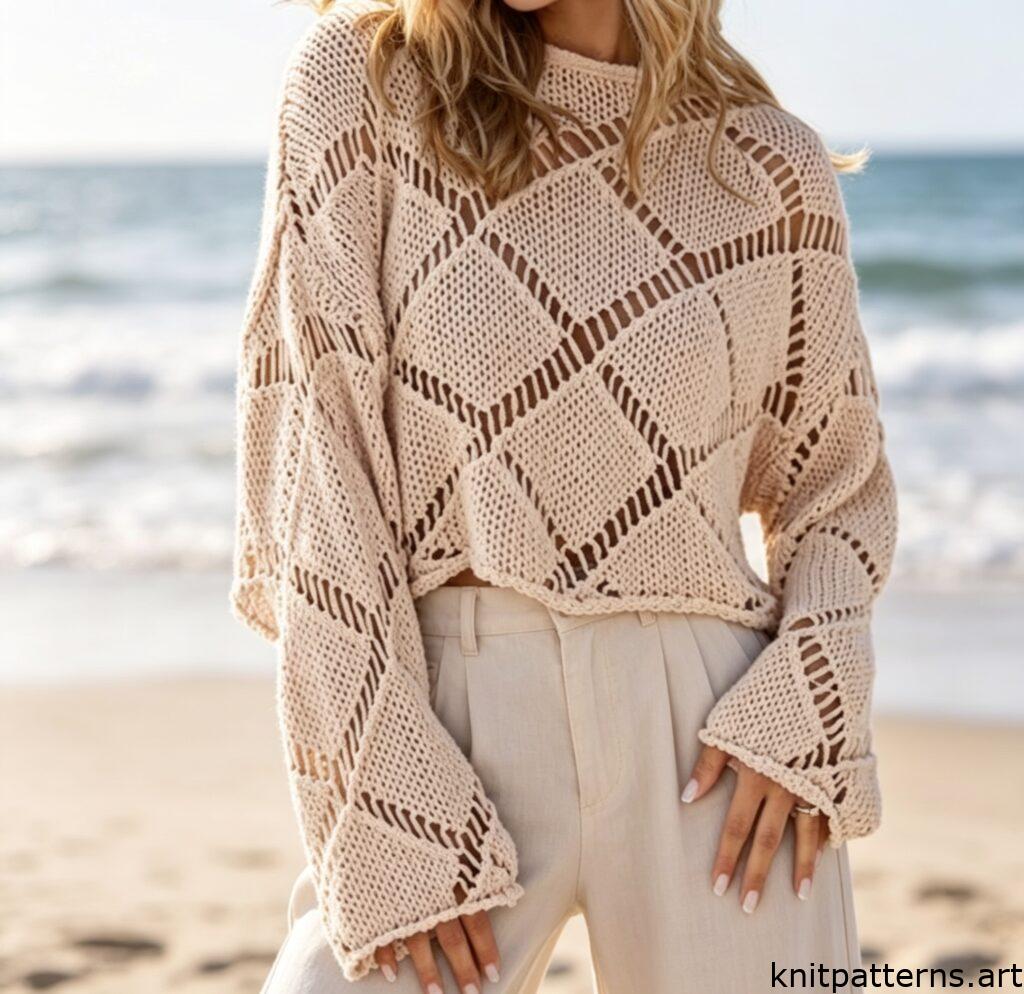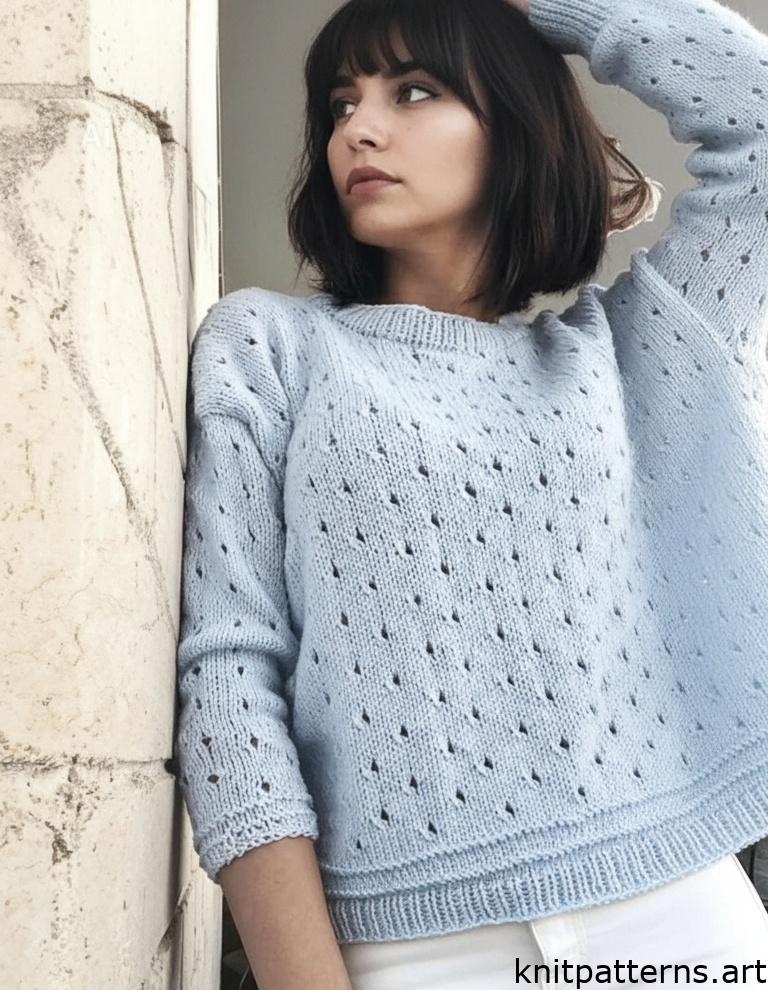
This easy eyelet sweater pattern beginner features a simple and stylish eyelet stitch, perfect for warm weather. Made from 100% cotton with 3/4 sleeves, this design is ideal for those just learning to knit garments. The back and front are knitted as separate flat pieces, and sleeves are picked up and worked directly from the armholes.
Materials
Yarn: YarnArt Creative (100% cotton, 85 m / 50 g per skein)
Needles: US size 7 (4.5 mm) and US size 4 (3.5 mm)
Gauge
18 sts = 4″ (10 cm) in stockinette stitch on larger needles
Instructions for the Eyelet Cotton Sweater
Measure your bust circumference. This is an oversized, relaxed-fit sweater, so add 10–20% ease to your measurement.
Sample on photo: Bust = 92 cm (approx. 36″) + 20% = 110 cm (approx. 43.5″).
At the stated gauge of 18 sts per 4″ (10 cm), this equals 110 × 1.8 = 198 total stitches. Divide between front and back: 198 ÷ 2 = 99 sts.
Knitting Chart
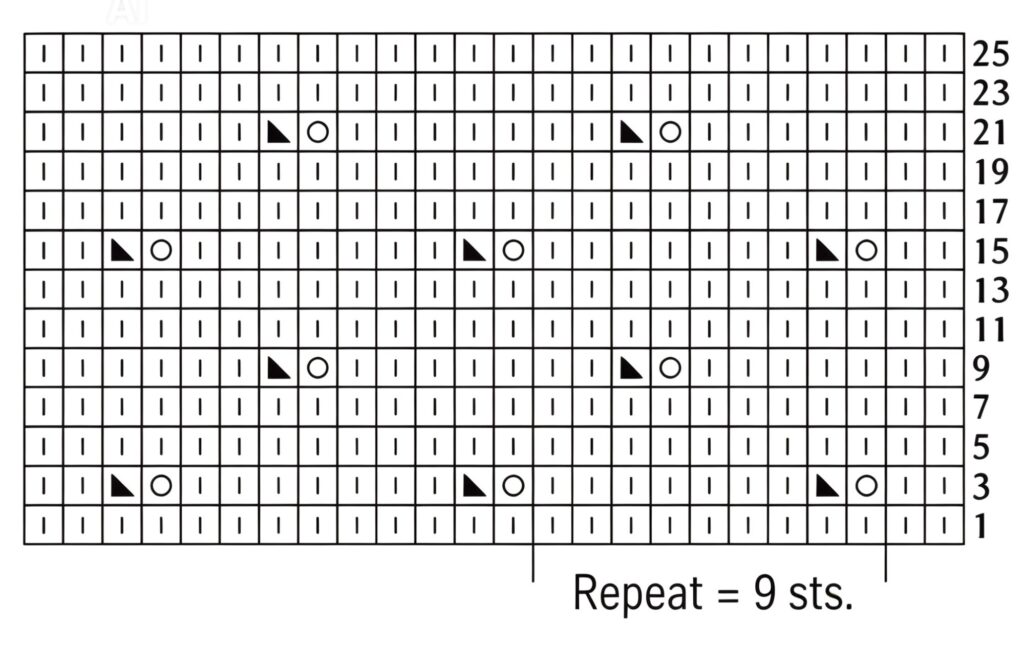
Symbol Key
━ purl 1 (p1)
| knit 1 (k1)
⚪ yarn over (yo)
◣ knit 2 together through the back loop (k2tog tbl)
Front
Cast on 99 sts using US size 7 (4.5 mm) needles. Work the following horizontal stripe sequence:
Rows 1–3: Stockinette stitch (knit on RS, purl on WS)
Row 4 (WS): Knit across (this creates a purl ridge on the RS)
Rows 5–7: Stockinette stitch
Row 8: Same as Row 4 (knit on WS)
Row 9: Knit on RS (or purl on WS to continue stockinette)
From Row 11 up to the armhole (approx. 22 cm / 8.75″ or 57 rows), work according to the eyelet pattern chart.
This easy eyelet sweater pattern beginner truly shines once you start the lace motif.
Armhole shaping: Bind off 5 sts at each side once, then bind off 2 sts at each side 4 times, then bind off 1 st at each side every other row 2 times.
Continue working the eyelet pattern for another 12–15 cm (approx. 4.75″ – 6″).
Neckline: Bind off the center 14 sts (approx. 7 cm / 2.75″). Complete each side separately. On each neck edge, bind off 3 sts 3 times, then 2 sts twice, then 1 st once. Finish the second side identically.
Back
Work the same as the front until the neckline. The back neckline is 2 cm (approx. 0.75″) higher than the front. Bind off the center 19 sts, then bind off 3 sts 3 times, then 2 sts twice, then 1 st once.
Seaming
Sew shoulder seams using a three-needle bind off or mattress stitch on live stitches. Join side seams using a mattress stitch.
Sleeves
Starting from the bottom of the armhole, pick up stitches from each edge stitch (selvedge) and join in the round. Work the eyelet pattern.
For sleeve tapering, place a marker at the underarm. Decrease 1 stitch before and after the marked stitch as follows:
Rows 1–8: Decrease every other row (every 2nd row)
Rows 9–18: Decrease every 3rd row
After row 18: Decrease every 4th row
When the sleeve reaches the desired length, repeat the purl ridge stripes the same way as at the bottom of the sweater body. Finish with 4 rows of 1×1 ribbing.
Neckband
Using US size 4 (3.5 mm) needles, pick up and knit stitches evenly around the neckline (one stitch from each stitch). Join in the round and work 1×1 ribbing for approximately 2.5–3 cm (approx. 1″ – 1.25″).
Bottom Ribbing
Using US size 4 (3.5 mm) needles, pick up stitches along the bottom edge of the sweater using a 2:1 ratio (pick up 2 sts, skip 1 st). Join in the round and work 1×1 ribbing for approximately 3 cm (approx. 1.25″).
Wet Blocking for Cotton
Wet blocking is essential for cotton garments. Soak the finished sweater in lukewarm water, gently squeeze out excess water (do not wring), and lay flat on a towel to dry completely.
You have just completed an easy eyelet sweater pattern beginner – a breathable, stylish, and approachable cotton pullover perfect for summer.