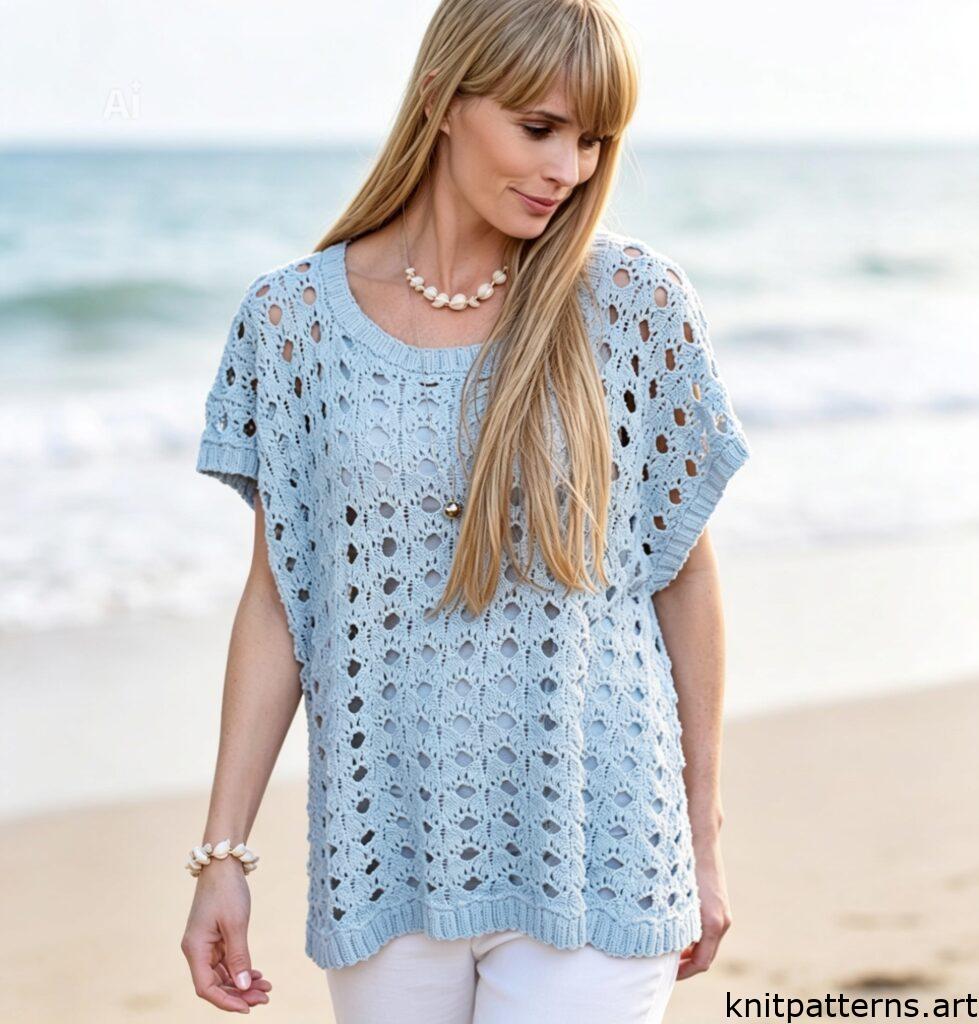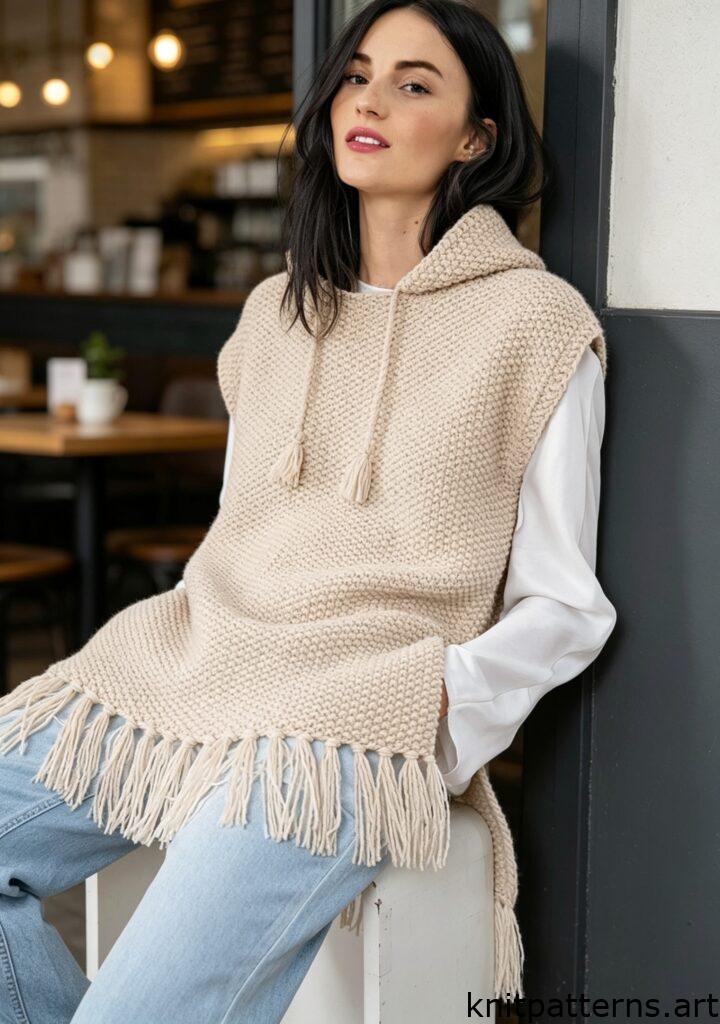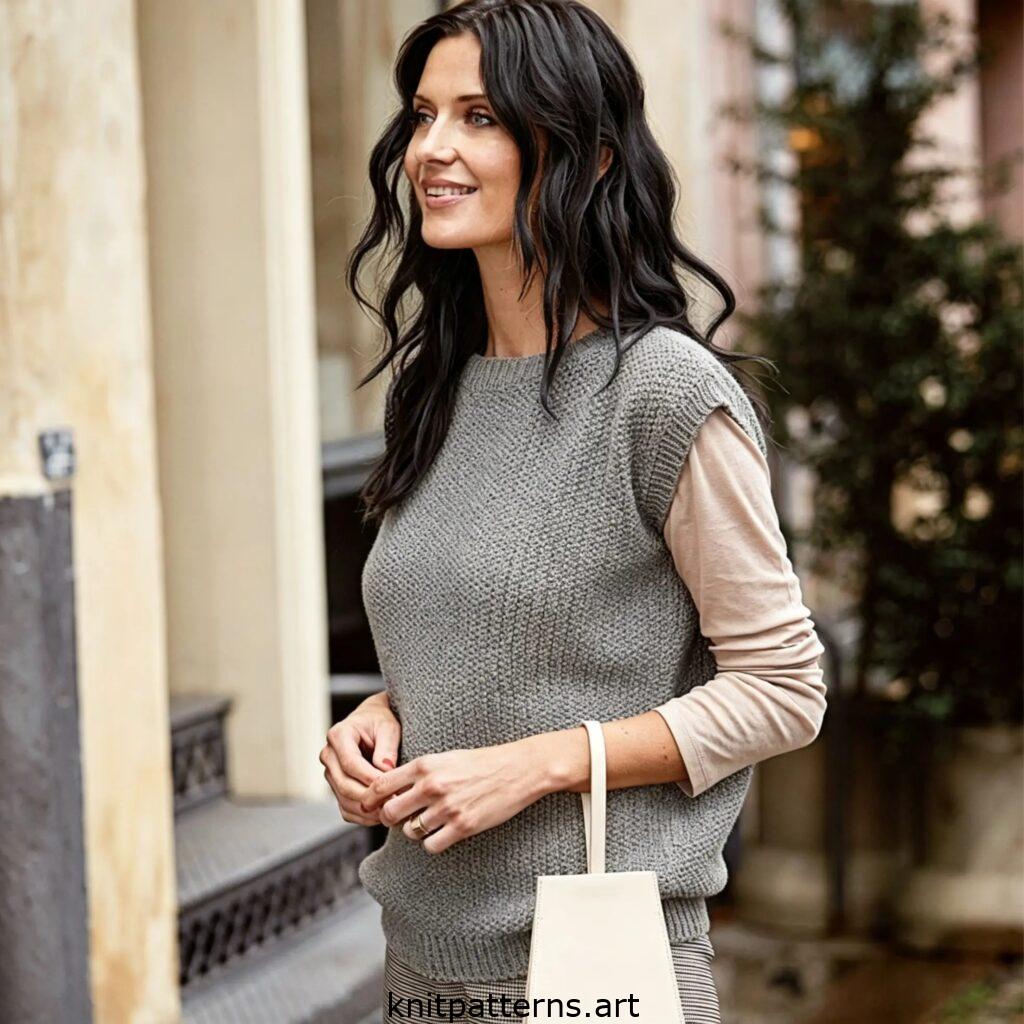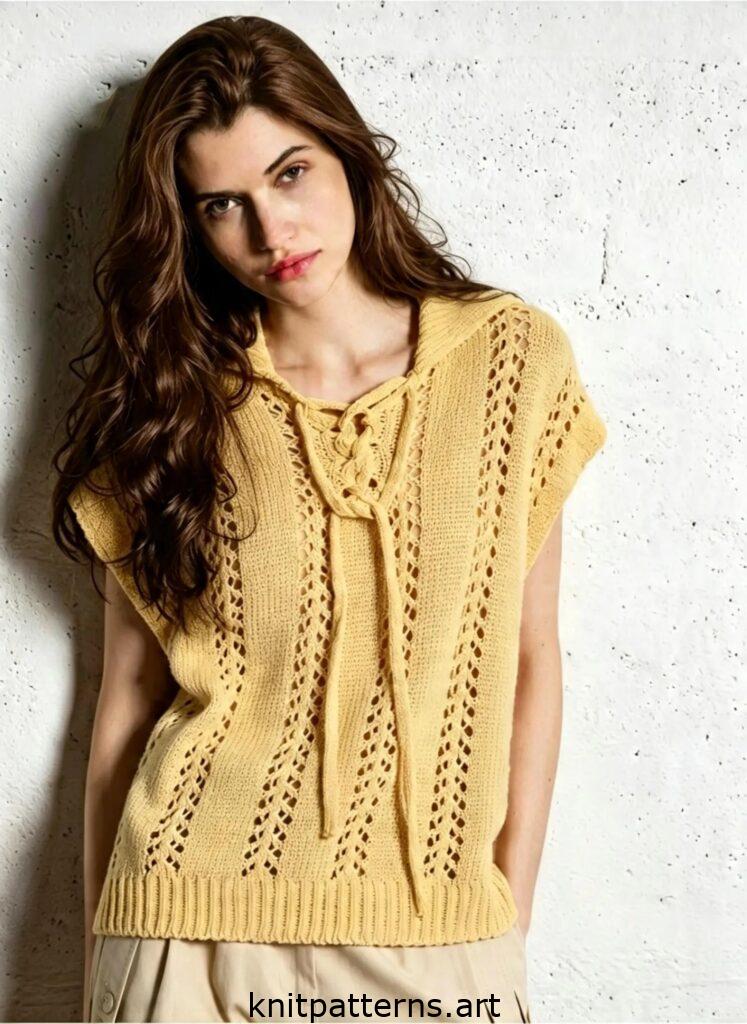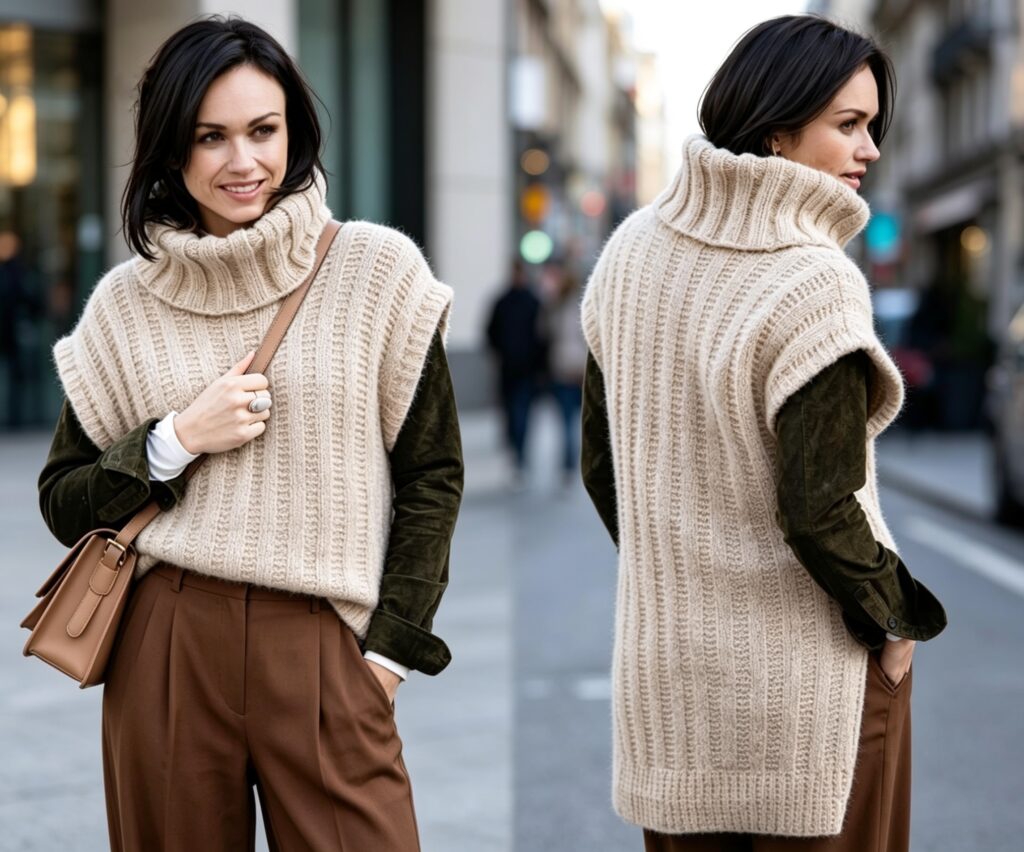
Looking for the perfect chunky knit turtleneck vest pattern? This design combines the warmth of an alpaca-wool blend with a modern, oversized silhouette. The deep drop armholes and extended back panels guarantee maximum comfort and a flattering fit for all body types. Whether you wear it over a thin long-sleeve or a thick sweater, this piece becomes the highlight of your wardrobe. Below you will find a clear, professional instruction using US knitting terms.
What You’ll Need for This Heavy Yarn Project
- Yarn: (68% alpaca wool, 10% sheep wool, 22% synthetic fiber; 50 g / 110 m) – 8 (9) 10 skeins in light gray.
- Straight needles: US 2.5 (3.5 mm), US 8 (5 mm), and US 10 (6 mm).
- Circular needles: US 8 (5 mm) and US 10 (6 mm), 24” (60 cm) long.
Stitch Patterns and Abbreviations
- Ribbing (Bottom Edge):
- Row 1 (WS): K1, P1, K1 repeat to end.
- Row 2 (RS): Knit all sts.
- Stockinette Stitch: Knit on RS, purl on WS.
- Textured Pattern (Relief):
- Row 1 (WS): K3, P3, K3 repeat to end.
- Row 2 (RS): Knit all sts.
Gauge (Important!)
- 17 sts x 18 rows = 4” x 4” (10 cm x 10 cm) in stockinette stitch on US 10 (6 mm) needles.
- Note: Only one number is given? It applies to all sizes.
Step-by-Step Instructions for Your Chunky Knit Turtleneck Vest
Back Panel (Longer)
- Cast on: Using US 10 (6 mm) needles, cast on 81 (87) 93 sts.
- Bottom band: Work in ribbing:
- Row 1 (WS): K1, P1, K1 repeat.
- Row 2 (RS): Knit all.
- Repeat these 2 rows until the piece measures 3.5” (9 cm). End with a RS row.
- Main body (Textured pattern):
- Row 1 (WS): K3, P3, K3 repeat.
- Row 2 (RS): Knit all.
- Continue until the back measures 30.5” (78 cm) for size S, 31” (79 cm) for M, or 31.5” (80 cm) for L.
- Neck shaping: Bind off the center 17 sts. Work each side separately. Bind off 3 sts, then 2 sts from the neck edge at the start of the next 2 rows.
- Shoulder slope: At the same time, bind off from the outer edge: 9, 9, 9 sts (10, 10, 10) or 11, 11, 11 sts depending on size.
Front Panel (Shorter than Back)
- Work exactly like the back until the front measures 22.5” (58 cm), 23” (59 cm), or 23.5” (60 cm).
- Neck shaping: Bind off center 9 sts. Then bind off at the start of each row from neck edge: 3, 2, 2, 1, 1 sts.
- Shoulder slope: When the front measures 26” (66 cm), 26.5” (67 cm), or 27” (68 cm), bind off for shoulders as described for the back.
Finishing the Warm Gilet
Seams: Use mattress stitch for vertical edges and knit stitch for cast-off edges.
- Shoulder seams: Sew tightly. Do not stretch.
- Armhole bands (Drop armholes):
- Measure 10.5” (26 cm), 10.75” (27 cm), or 11” (28 cm) down from the shoulder seam on both sides. Place markers.
- Using US 8 (5 mm) needles, pick up an odd number of sts along the edge between markers (1 st from each row, skipping every 6th row).
- Work in K1, P1 ribbing for 1.5” (3 cm). Bind off loosely.
- Side seams: Sew side seams including armhole bands. Leave the bottom 4.5” (12 cm) of the front open for side slits.
- Neckband (The Turtleneck):
- Using US 8 (5 mm) circular needles, pick up 114 sts around the neckline.
- Work in the round: K3, P3 ribbing.
- After 2.5” (6 cm), switch to US 10 (6 mm) circular needles.
- Continue until the turtleneck is 12” (30 cm) long. Bind off loosely in pattern.
Final step: Turn the armhole bands to the inside and whipstitch down. Sew the slit edges on size US 2.5 (3.5 mm) needles for a clean finish.
This chunky knit turtleneck vest pattern delivers a modern, oversized look that pairs perfectly with jeans or tailored trousers. The high alpaca content ensures it’s breathable yet warm. Add this cozy top to your queue today – you’ll reach for it all season long because a chunky knit turtleneck vest pattern like this is both timeless and practical.