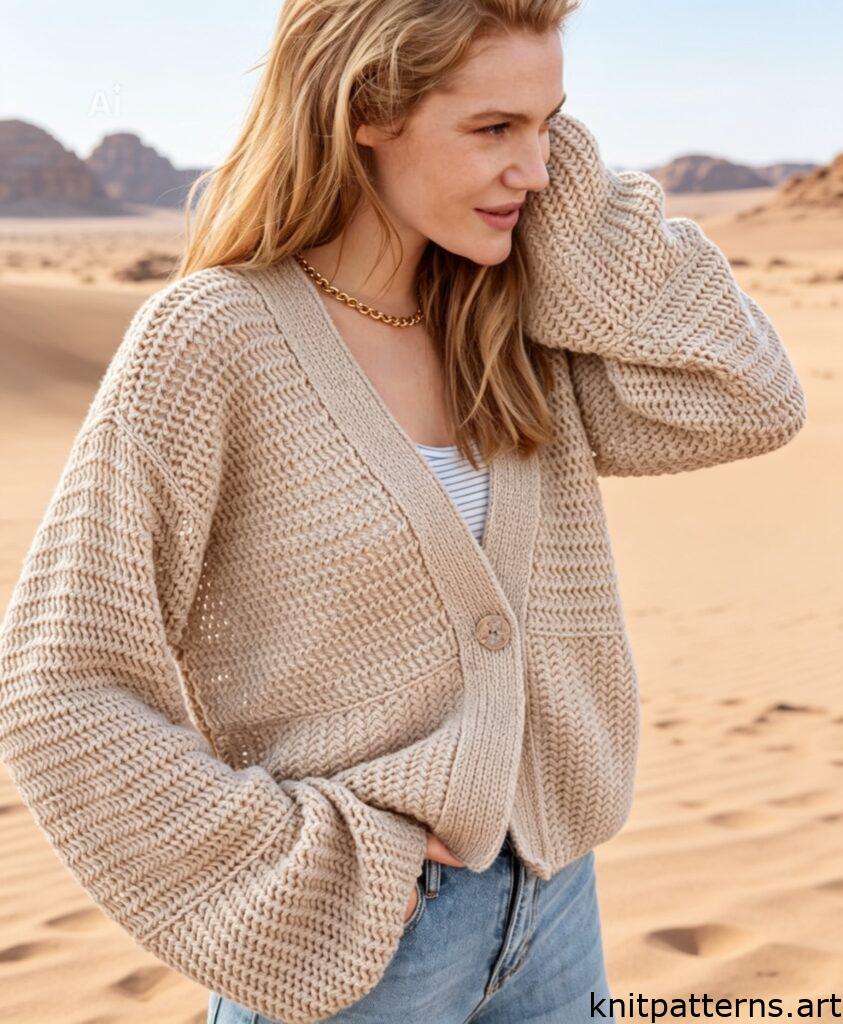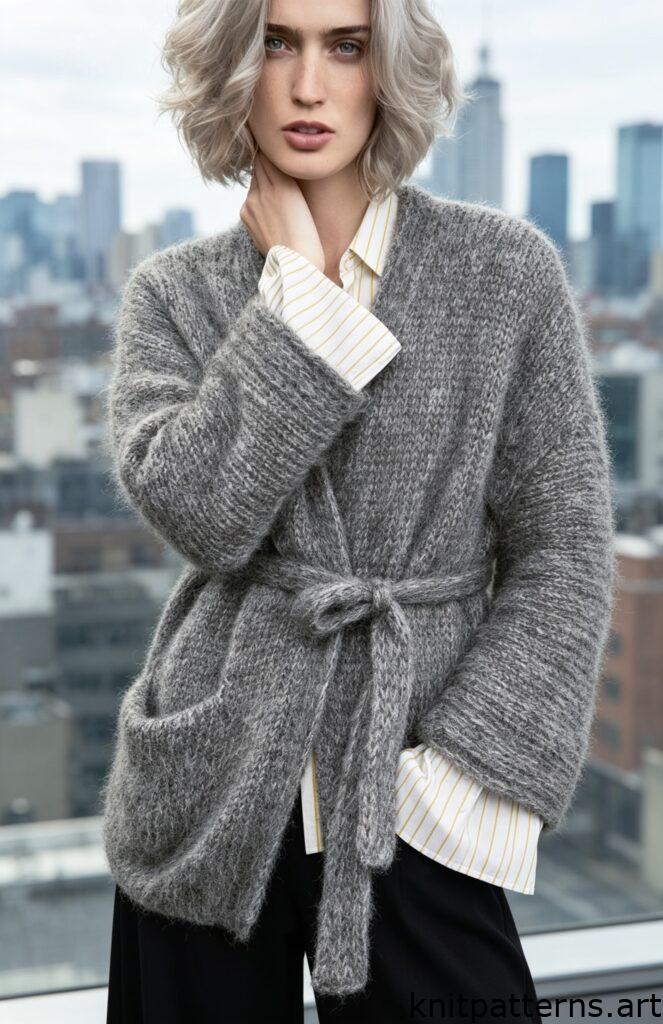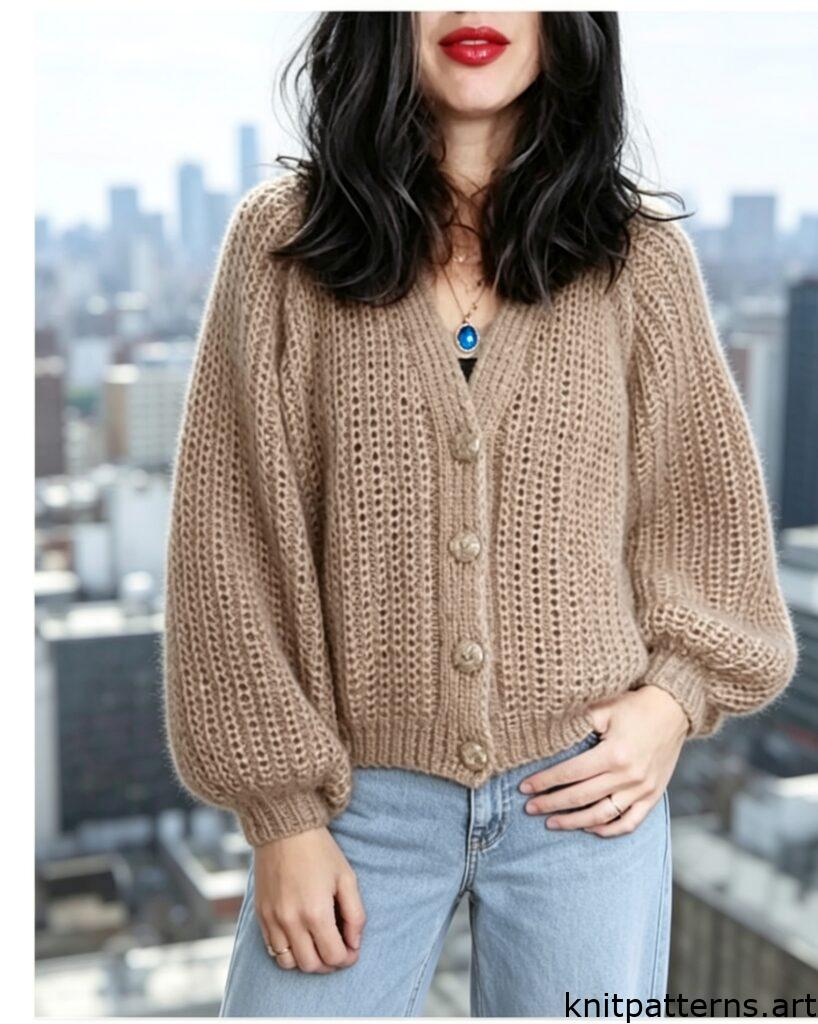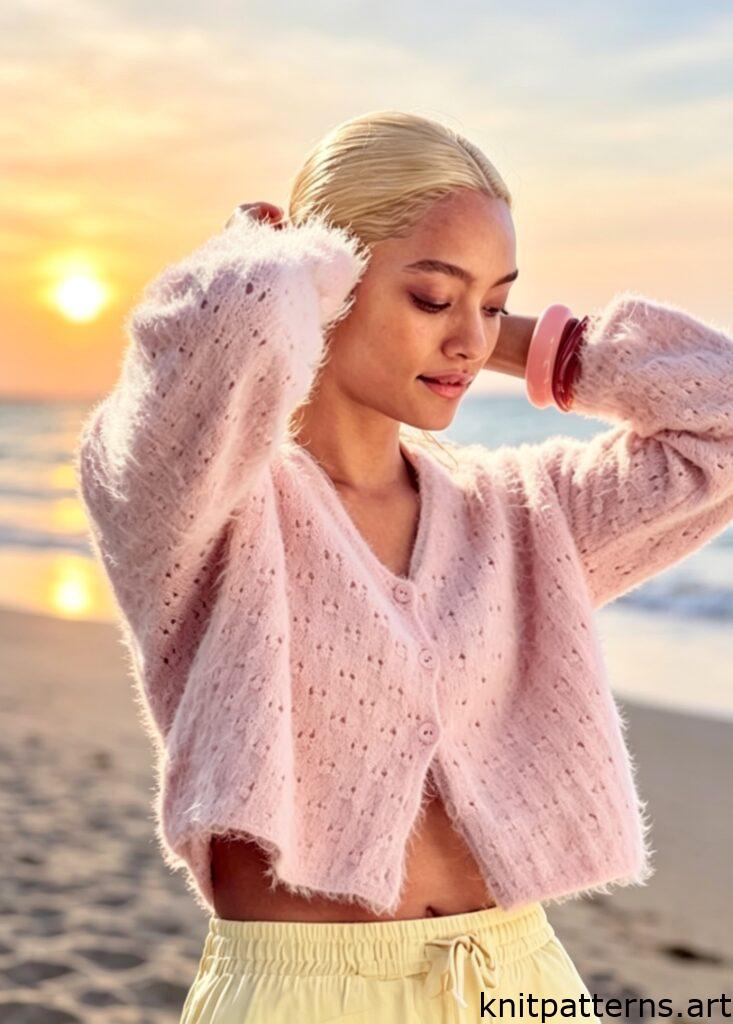
Looking for a free lace knit cardigan pattern that combines elegance with easy wearability? This beautiful lace cardigan features an all-over openwork stitch, a relaxed fit, and a button-up front. Whether you’re an experienced knitter or just starting to work with lace, this free lace knit cardigan pattern offers clear instructions for two sizes. The design includes a ribbed hem and cuffs, a cozy shawl collar with patent edge detailing, and set-in sleeves. In this free lace knit cardigan pattern, every step is explained in standard US knitting terms so you can knit with confidence.
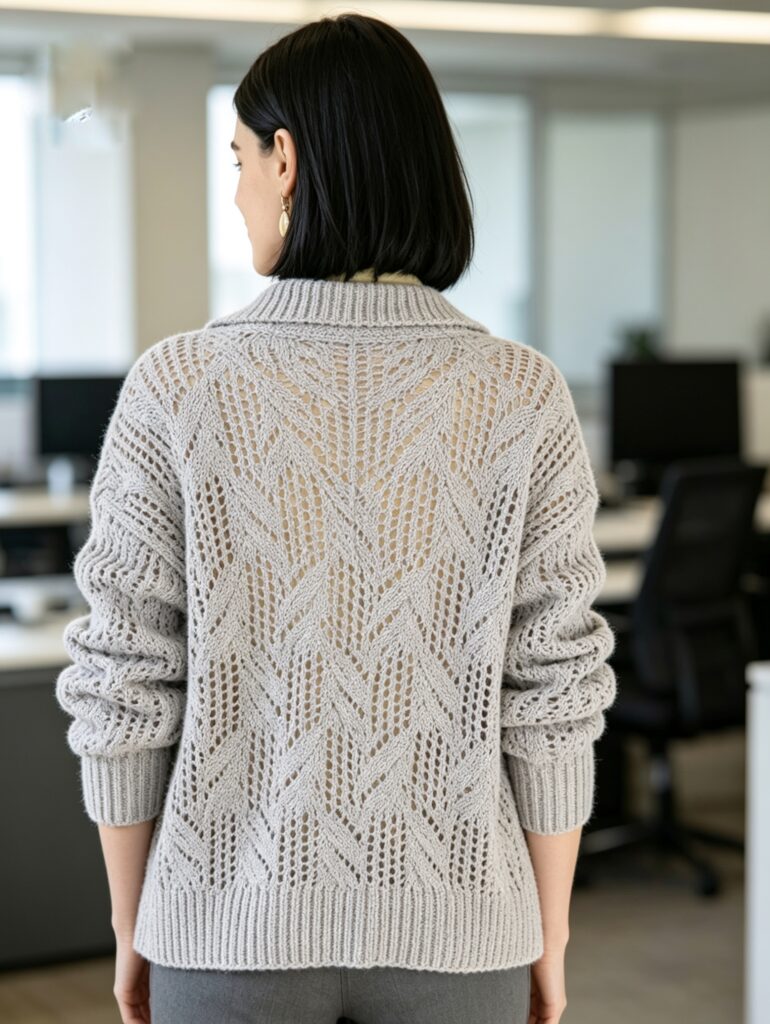
Sizes and Materials You’ll Need
Sizes: 38/40 (US 6/8) and 44/46 (US 10/12) – European sizes converted to approximate US sizes
Materials:
- Yarn: 100% cotton (70 m / 50 g per skein) – 850 g (1000 g) in lilac
- Straight knitting needles: US 7 (4.5 mm) and US 8 (5 mm)
- Circular needle: US 7 (4.5 mm) – 24″ or 32″ length
- Five buttons: 22 mm (approx. 7/8″) diameter
Gauge and Key Measurements
Gauge with Lace Pattern (using US 8 / 5 mm needles):
- 18 stitches × 22 rows = 4 × 4 inches (10 × 10 cm)
Always knit a gauge swatch before starting your free lace knit cardigan pattern to ensure the correct fit.
Stitch Patterns Used in This Lace Cardigan
Pattern 1: Ribbing (odd number of stitches)
Right side rows: Selvage edge, purl 1, knit 1 repeat from * to *, end with purl 1, selvage edge.
Wrong side rows: Work stitches as they appear (knit the knits, purl the purls).
Pattern 2: Lace Pattern (multiple of 16 stitches + 1 + 2 selvage edges)
This is the heart of your easy lace cardigan knitting pattern. The chart shows only right-side rows. On wrong-side rows, purl all stitches and purl all yarn overs.
Setup: Start with stitches before the right arrow, repeat the 16-stitch repeat between the arrows, end with the stitch after the left arrow + selvage edge.
Repeat: Work rows 1–32 continuously.
This lightweight lace cardigan pattern creates a beautiful drape perfect for spring and summer.
Pattern 3: Patent Edge for Collar
Right side rows (first and last 3 stitches only): Knit 1, slip 1 purlwise with yarn in front, knit 1.
Wrong side rows (first and last 3 stitches only): Slip 1 purlwise with yarn in front, knit 1, slip 1 purlwise with yarn in front.
Special Technique: Underlined Increases (M1)
This lace stitch cardigan tutorial uses invisible increases:
- From the right edge: Work 3 stitches in Pattern 3, then M1 (make one) by picking up the bar between stitches and knitting it through the back loop.
- From the left edge: Work to the last 3 stitches, then M1 from the bar, then work 3 stitches in Pattern 3.
Back Panel Instructions
Using US 7 (4.5 mm) needles, cast on 99 (115) stitches using the cross cast-on method.
Work 1 wrong-side row purling all stitches (this row is not counted in instructions).
Lower band: Work 8 cm / 16 rows in Pattern 1 (Ribbing).
Switch to US 8 (5 mm) needles and continue in Pattern 2 (Lace Pattern).
Shape shoulders and neck:
- After 51 cm / 112 rows (54 cm / 118 rows) from the lower band, bind off all stitches.
- The middle 21 (29) stitches form the back neck.
- The remaining 39 (43) stitches on each side are the shoulders.
Left Front Panel
Using US 7 (4.5 mm) needles, cast on 51 (59) stitches using cross cast-on.
Work 1 wrong-side row purling all stitches.
Lower band: Work 8 cm / 16 rows in Pattern 1.
Switch to US 8 (5 mm) needles and work in Pattern 2.
- For size 44/46 only: Start with the first 8 stitches of the repeat + 1 selvage edge.
Shape neckline (left edge – inside edge of cardigan):
- After 43.5 cm / 96 rows (45.5 cm / 100 rows) from lower band, bind off 5 (8) stitches once at the neck edge.
- Then bind off 1 stitch 7 (8) times every 2nd row.
Finish shoulder:
After 51 cm / 112 rows (54 cm / 118 rows) from lower band, bind off the remaining 39 (43) shoulder stitches.
Right Front Panel
Work the same as the left front, but mirror-imaged.
For Pattern 2 (size 44/46 only): After the selvage edge, start with the last 8 stitches of the repeat (work the repeat backwards).
The buttonholes will be worked later in the front band – not in the main body.
Sleeves (Make Two)
Using US 7 (4.5 mm) needles, cast on 39 (53) stitches using cross cast-on.
Work 1 wrong-side row purling all stitches.
Cuff band: Work 8 cm / 16 rows in Pattern 1.
- In the last row of the ribbing, evenly increase 28 (30) stitches → you will have 67 (83) stitches.
Switch to US 8 (5 mm) needles and work in Pattern 2.
Finish: After 36.5 cm / 80 rows (38 cm / 84 rows) from the cuff band, bind off all stitches.
Assembly and Finishing
Shoulder Seams
Sew both shoulder seams using mattress stitch or your preferred seaming method.
Front Button Bands (Left and Right)
Using US 7 (4.5 mm) circular needle, pick up 116 (120) stitches along the straight edge of each front.
Work 7 rows in Pattern 1 (Ribbing).
Buttonholes (on right front band only – for women’s cardigans):
- In the 4th row, work 5 evenly spaced buttonholes.
- Each buttonhole: knit 2 together, then yarn over.
Bind off: Use the Italian bind-off (tubular bind-off) for a professional, stretchy edge.
Collar / Shawl Collar
Using US 7 (4.5 mm) circular needle, pick up 75 (89) stitches along:
- Back neck edge
- The short ends of both front bands
Work 24 rows in Pattern 1, working Pattern 3 (patent edge) on the first and last 3 stitches of both sides.
Shape the collar with increases:
- In the 4th row from pick-up, M1 on both sides (underlined increase) → 77 (91) stitches.
- Repeat this increase on both sides 5 more times, every 2nd row → 87 (101) stitches total.
Bind off using the Italian bind-off.
Sleeves and Side Seams
- Sew the sleeves into the armholes.
- Sew the sleeve seams and side seams in one continuous line.
Buttons
Sew on 5 buttons to the left front band, matching the buttonholes on the right front band.
Final Tips for Your Lace Cardigan
Block your finished cardigan gently to open up the lace pattern – a light steam block works beautifully for cotton. This free lace knit cardigan pattern gives you a timeless layering piece that works over dresses, tanks, or tees. Download this free lace knit cardigan pattern and cast on today – your summer wardrobe is waiting.
Knitting Chart
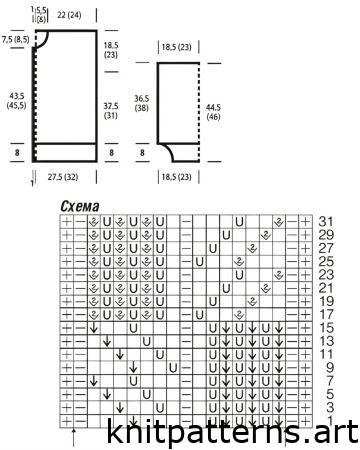
Symbol Key
- + edge stitch
- ⬜ knit stitch (k)
- ━ purl stitch (p)
- U yarn over (yo)
- ⬇︎ slip, slip, knit (ssk).
- V2 knit 2 together (k2tog)