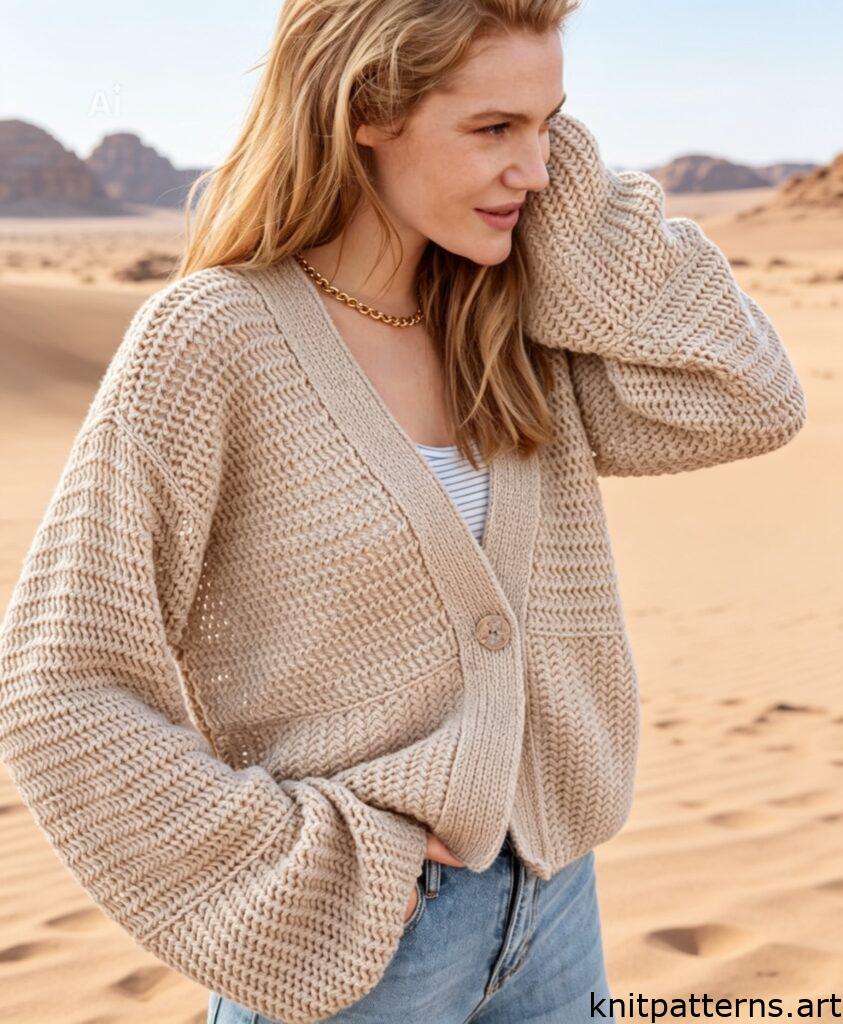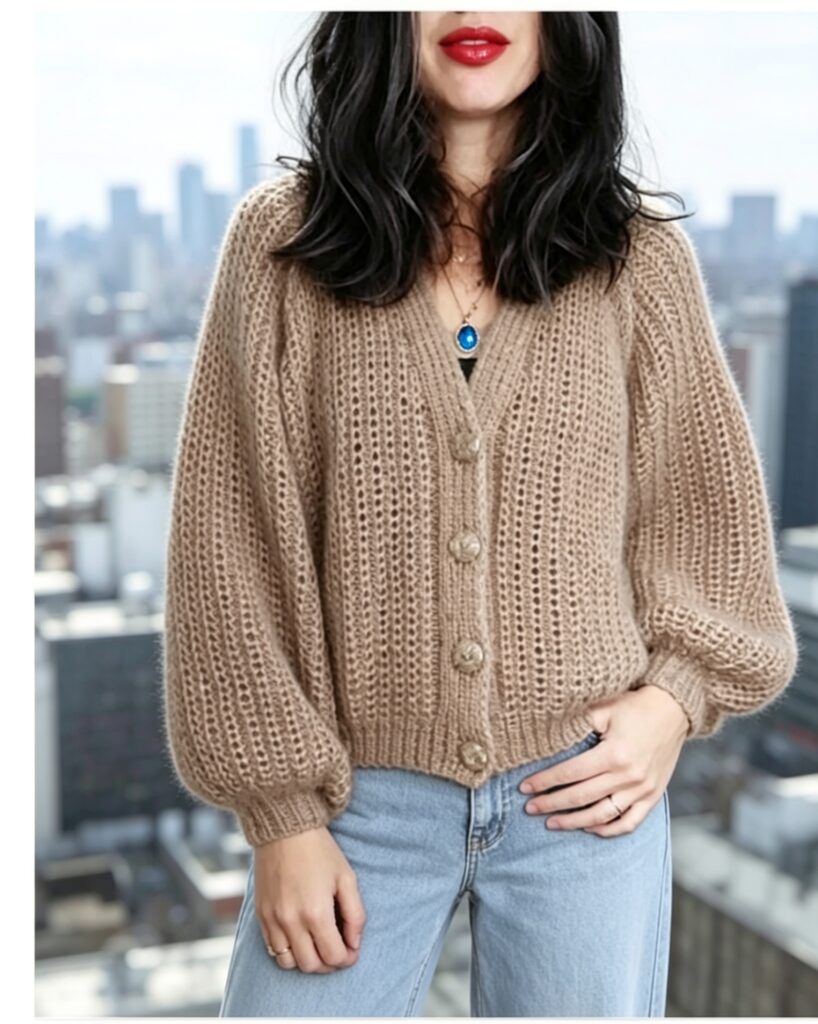
Looking for a free mohair cardigan knitting pattern that’s both fluffy and structured? This knitted mohair cardigan mock rib pattern is exactly what you need. Designed with a gorgeous mock rib stitch (also known as knit below ribbing), this cardigan features a seamless raglan construction, a soft silk mohair blend, and a beautiful textured finish. Whether you’re an experienced knitter or just love working with luxurious yarn, this free pattern includes everything — from gauge to buttonholes. Below you’ll find a complete step‑by‑step description written in standard US knitting terms, so you can confidently knit your own lightweight yet warm cardigan. Let’s get started with this free mohair cardigan knitting pattern!
📌 Pattern Overview
Sizes: XS (S) M (L) XL
Cardigan Measurements (back length):
50 (52) 54 (55) 58 cm / 19.75 (20.5) 21.25 (21.75) 22.75 in
Bust circumference:
110 (114) 119 (122) 128 cm / 43.25 (45) 46.75 (48) 50.5 in
🧶 Materials
Needles:
- Circular needle 6 mm / US 10 (80 cm / 32″ long)
- Circular needle 4.5 mm / US 7 (80 cm / 32″ long)
- Double-pointed needles 4.5 mm / US 7 (for sleeves or small circumference)
Gauge:
13 sts × 13 rows in mock rib stitch on 6 mm needles = 10 cm / 4″
⚠️ Important: Always knit a swatch before starting. Your tension is unique — only by matching the gauge will your cardigan have the correct fit and proportions.
Yarn:
300 (300) 300 (375) 375 g of Soft Silk Mohair by Knitting for Olive (25 g / 225 m per ball)
The sample cardigan is knit in three colors: Powder, Dusty Artichoke, and Sky Blue — one strand of each held together.
If using a single color:
You will need less yarn: 275 (275) 300 (325) 350 g
Buttons: 4 pcs, diameter 2.4 cm / 1″
📏 Abbreviations (US Terms)
| Abbreviation | Meaning |
|---|---|
| RS | Right side |
| WS | Wrong side |
| M | Marker |
| M1R | Make 1 right – lift bar from back to front, knit through front loop |
| M1L | Make 1 left – lift bar from front to back, knit through back loop |
| k1b | Knit 1 below – insert needle into stitch one row below and knit it |
| st(s) | stitch(es) |
| k | knit |
| p | purl |
| k2tog | knit 2 together |
| p2tog | purl 2 together |
🧵 Special Techniques
Slipped Stitch Edge (for all button bands):
- First stitch of every row: slip as if to purl with yarn in front (pull snugly)
- Last stitch of every row: knit
Mock Rib Stitch (back & forth):
Worked on RS and WS rows.
Row 1 (RS): k1b, p1 repeat to end
Row 2 (WS): knit all stitches
Repeat rows 1–2.
Mock Rib Stitch (in the round):
Round 1: k1b, p1 repeat around
Round 2: purl all stitches
Repeat rounds 1–2.
Raglan Increases:
Worked on RS rows only, using M1R and M1L.
Between increases there are 2 raglan stitches — knit them on RS, purl on WS.
Free Mohair Cardigan Knitting Pattern – Step by Step
🔹 Neckband (worked in 1×1 rib)
The neckband consists of two parts (right and left), then stitches are picked up between them.
Right neckband:
Using 4.5 mm needles and provisional cast-on, cast on 11 sts.
Row 1 (RS): k1, p1, k1 repeat to end
Row 2 (WS): slip 1 as if to purl (slipped stitch edge), k1, p1 repeat to last 2 sts, k2
Repeat rows 1–2 until piece measures 13 (13) 14 (14) 15 cm / 5.1–5.9″.
End after a WS row. Cut yarn, leave stitches on holder.
Left neckband:
Using the short tail of the provisional cast-on, pick up 11 sts along the cast‑on edge, working from the slipped‑stitch edge toward the other side.
Slide stitches to the other end of the needle to begin on RS.
Row 1 (RS): slip 1 (slipped stitch edge), p1, k1 repeat to end
Row 2 (WS): k1, k1, p1 repeat to last 2 sts, k2
Repeat until the entire neckband (right + left) measures 26 (26) 28 (28) 30 cm / 10.25–11.75″.
End after a RS row so the yarn is at the opposite end from the slipped‑stitch edge.
🔸 Yoke – Where the Magic Happens
Now you will pick up stitches along the working edge of the neckband using 6 mm needles.
Pick up 57 (57) 59 (59) 61 sts evenly along one side of the ribbing.
The 11 neckband stitches remain on your 4.5 mm needles — you will work with two needle sizes simultaneously:
- 4.5 mm for the ribbed bands (first and last 10 sts)
- 6 mm for the mock rib body
After picking up, knit across the 11 rib stitches (right side) using 4.5 mm needles.
Total on needles: 79 (79) 81 (81) 83 sts.
🧷 Remember the slipped stitch edge at both ends of every row (RS and WS).
Next row (WS):
Slipped st edge, rib 9 sts, k2tog (1 rib st + 1 body st), purl to last 12 sts, k2tog (1 body st + 1 rib st), rib 9 sts, slipped st edge.
Remaining: 77 (77) 79 (79) 81 sts.
🔹 Place Raglan Markers (RS)
10 (10) 10 (10) 10 sts – left front
🄼 → 2 raglan sts
10 (10) 10 (10) 10 sts – left sleeve
🄼 → 2 raglan sts
29 (29) 31 (31) 33 sts – back
🄼 → 2 raglan sts
10 (10) 10 (10) 10 sts – right sleeve
🄼 → 2 raglan sts
10 (10) 10 (10) 10 sts – right front
💡 The first marker will be at the transition between ribbing and mock rib. It may slip off at first — after you make the first increase, you can place it securely.
🔸 Raglan Increases & Front Neck Shaping
RS rows:
Slipped st, rib 9 sts, work mock rib to marker, M1R, k2 (raglan sts), M1L, repeat – across all 4 raglan lines, work mock rib to last 10 sts, rib 9, slipped st.
⚠️ Keep mock rib pattern continuous. If the stitch before M1R is a purl, then the stitch after M1L should be k1b.
WS rows:
Slipped st, rib 9 sts, knit all stitches to last 10 sts (purl the 2 raglan sts on WS), rib 9, slipped st.
Repeat raglan increases on every RS row — 23 (24) 25 (26) 27 times total.
At the same time:
Increase for front neck shaping every 3rd RS row, 6 times total:
Slipped st, rib 9, M1L, mock rib to last 10 sts, M1R, rib 9, slipped st.
After all increases:
273 (281) 291 (299) 309 sts on needles.
Stitch distribution:
Fronts: 39 (40) 41 (42) 43 each
Raglan sts: 2 each (8 total)
Sleeves: 56 (58) 60 (62) 64 each
Back: 75 (77) 81 (83) 87
Divide for Body & Sleeves
Place sleeve stitches onto holders or waste yarn.
Divide the 8 raglan stitches between front, back, and sleeves as you go.
RS row:
Slipped st, rib 9, work mock rib to 2nd raglan st, place next 58 (60) 62 (64) 66 sts on holder (sleeve), cast on 4 new sts for underarm, work mock rib across back, place next sleeve sts on holder, cast on 4 sts, work mock rib to last 10 sts, rib 9, slipped st.
WS row:
Slipped st, rib 9, knit all to last 10 sts, rib 9, slipped st.
Now on needles: 165 (169) 175 (179) 185 sts
Body
Row 1 (RS): slipped st, rib 9, mock rib to last 10, rib 9, slipped st
Row 2 (WS): slipped st, rib 9, knit all to last 10, rib 9, slipped st
Repeat these two rows until body measures 44 (46) 47 (48) 52 cm / 17.25–20.5″ from top edge at center back.
Decrease row (RS):
Decrease 8 sts evenly across the mock rib section by working k2tog.
Keep the mock rib rhythm: the left stitch in the decrease should be a k1b column, the right stitch a regular column.
Result: 157 (161) 167 (171) 177 sts
🔹 Bottom Ribbing (4.5 mm needles)
Switch to 4.5 mm needles and work across all stitches:
Row: slipped st, k1, p1 repeat to last st, slipped st
Knit ribbing for 5 (5) 6 (6) 6 cm / 2–2.35″.
Bind off all stitches using Italian/tubular bind‑off with a tapestry needle.
Sleeves (knit in the round)
Place sleeve stitches onto 6 mm circular needles.
Pick up and knit 4 new stitches from the underarm cast‑on edge.
Place marker for beginning of round.
Total: 62 (64) 66 (68) 70 sts
Work in mock rib in the round:
- Round 1: k1b, p1
- Round 2: purl all
Repeat until sleeve measures 39 (40) 41 (42) 43 cm / 15.25–17″ from underarm.
Decrease round: k2tog repeat to end (maintaining mock rib logic)
Switch to 4.5 mm needles (or DPNs) and work:
Round: k1, p2tog, k1, p1 repeat around
Stitches left: 24 (24) 26 (28) 28
Continue in k1, p1 rib until cuff measures 6 (6) 7 (7) 7 cm / 2.35–2.75″.
Bind off with Italian/tubular bind‑off.
Knit the second sleeve identically.
Buttonholes (Right Front)
Place 4 markers evenly along the right front edge.
The lowest buttonhole is centered on the bottom ribbing band.
Make buttonhole on the 5th knit stitch from the edge (not counting the slipped stitch edge).
Method:
Gently stretch the center of a knit stitch with your finger, push the button through several times to enlarge the hole.
Using 2 strands of mohair, embroider around the buttonhole with small whip stitches.
Always try on the cardigan to check placement before sewing.
🧵 Finishing
Sew buttons onto the left front band opposite the buttonholes.
Weave in all ends neatly.
Block your cardigan — wet block or steam block according to yarn label instructions. Blocking opens up the mock rib stitch, evens out tension, and gives the mohair that signature soft, airy halo.
✨ Final Notes on This Free Mohair Cardigan Knitting Pattern
This free mohair cardigan knitting pattern with mock rib texture is perfect for everyday wear — light enough for spring, warm enough for winter. The cardigan mock rib pattern creates a beautiful reversible fabric that doesn’t curl, and the raglan construction means minimal seaming. If you loved this mohair cardigan knitting pattern free, share your finished project on Ravelry or Pinterest. Happy knitting — and enjoy your cozy, handknit cardigan!