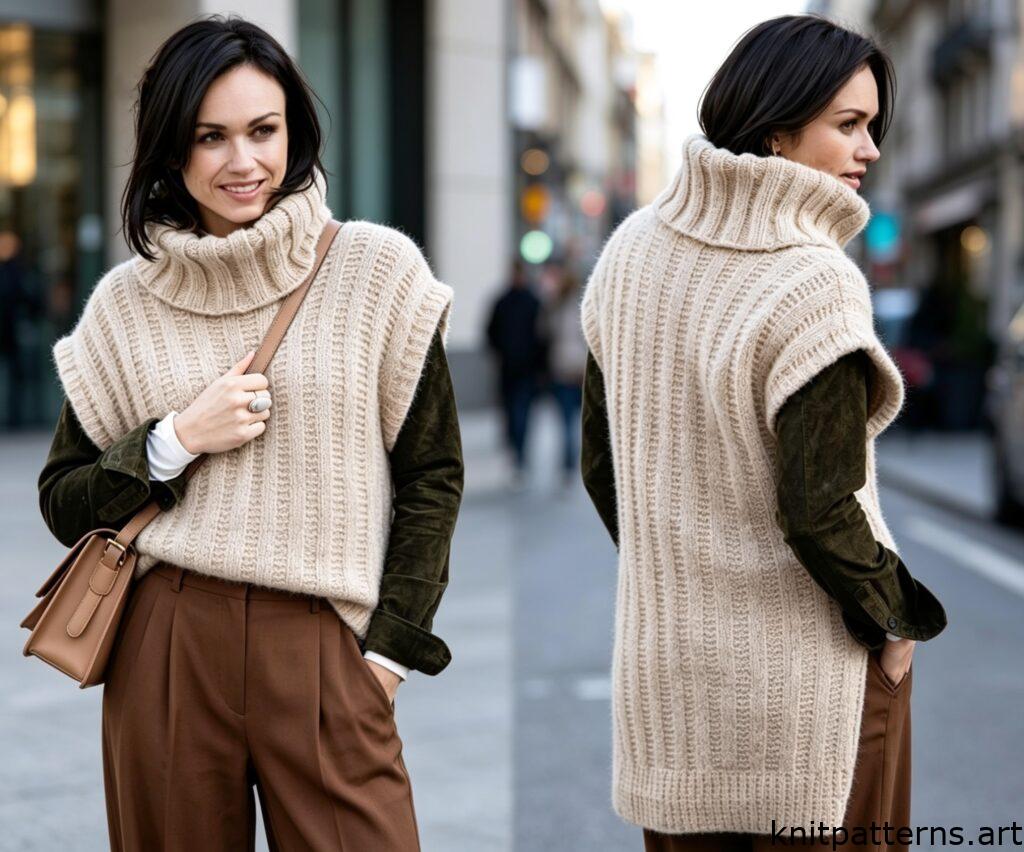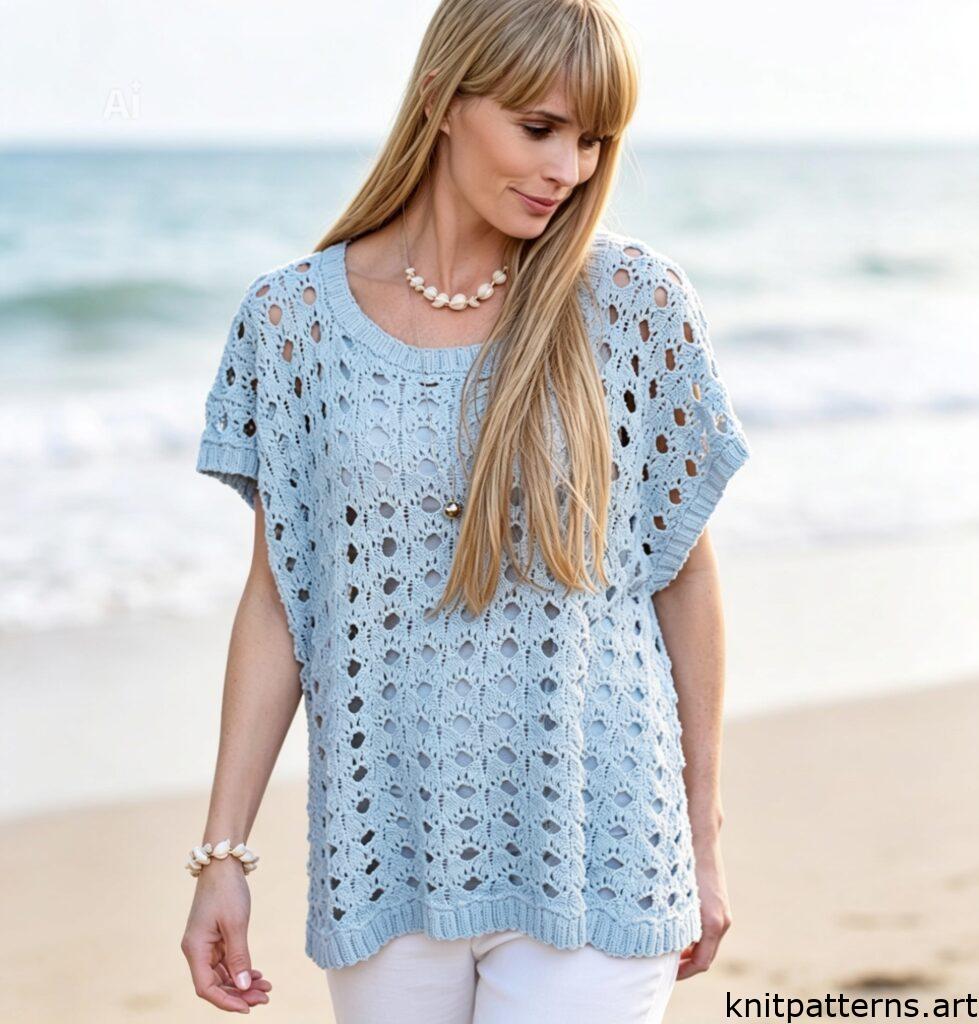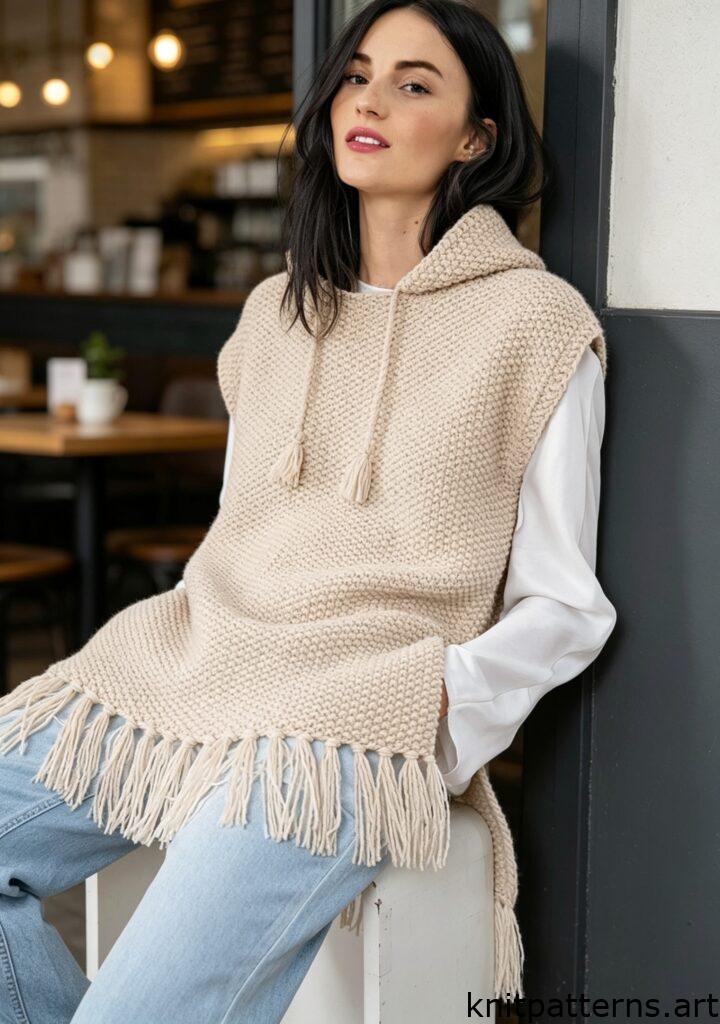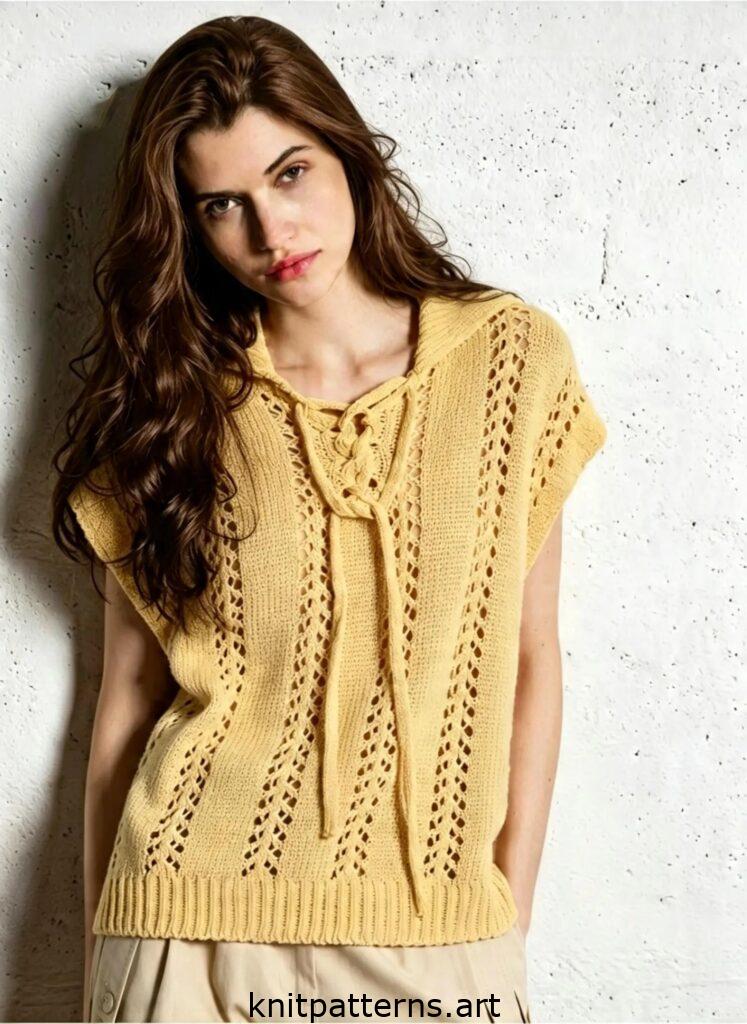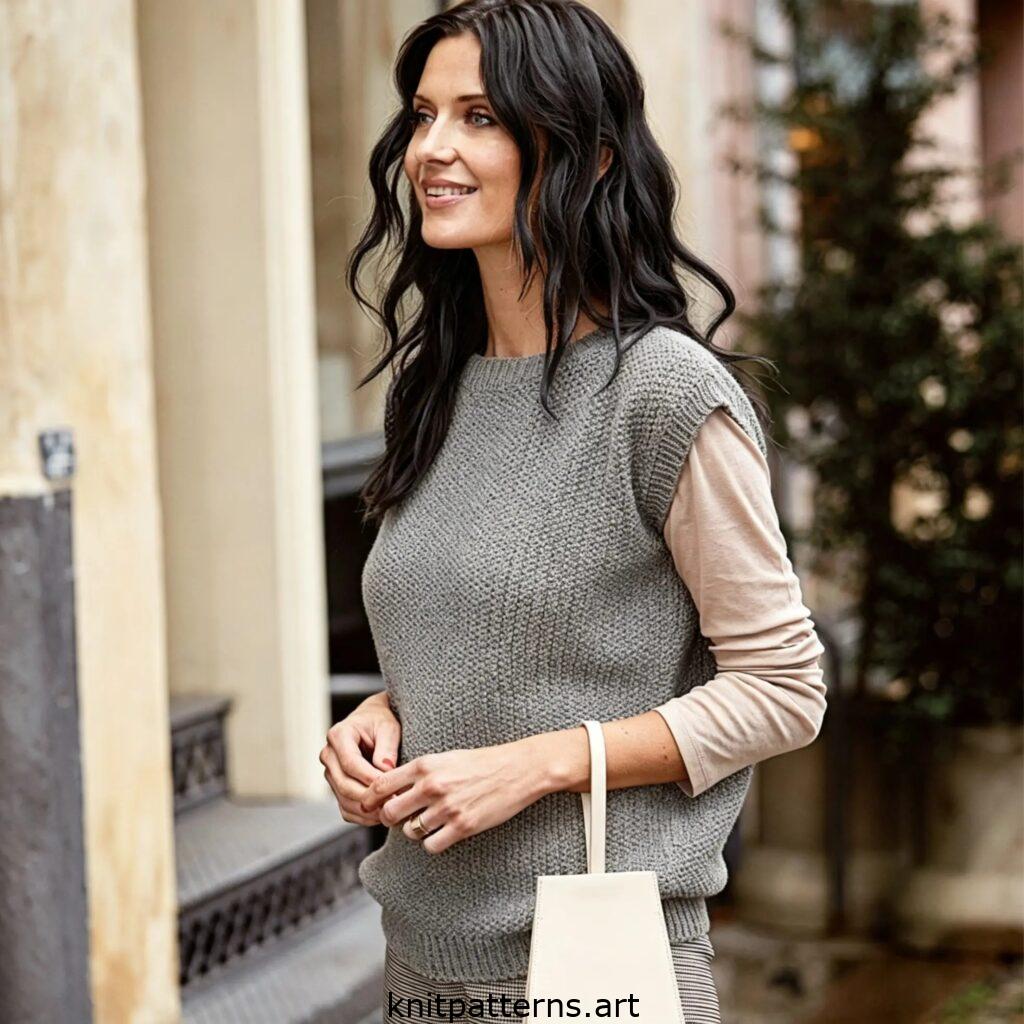
Are you looking for a free seed stitch vest pattern that is both chic and surprisingly simple to knit? This elegant sleeveless top features a beautiful, textured seed stitch that creates a fabric full of interest, perfect for dressing up or keeping casual. Whether you choose a sparkling yarn with metallic threads for a glamorous evening look or a solid cotton blend for everyday wear, this vest will become a wardrobe favorite. The best part? This detailed guide offers you a completely free seed stitch vest pattern, so you can start your next project today. In this article, you will find everything from sizing and materials to step-by-step knitting instructions, making it the ultimate free seed stitch vest pattern for knitters of all levels.
The Seed Stitch Vest Pattern Free — What Makes It Special
Seed stitch is a beloved classic in American knitting, known for its nubbly texture that lies flat without curling. It is the perfect choice for a vest because it is reversible, meaning both the inside and outside look equally beautiful—a huge plus for a sleeveless garment. This free seed stitch vest pattern uses a gorgeous DK weight cotton-metallic blend, but the instructions are so versatile that you can easily substitute with any yarn of similar weight to create a more casual version. The simple repetition of knit and purl stitches makes this pattern meditative and enjoyable, resulting in a polished, high-end look that you knit with your own hands.
Your Free Seed Stitch Vest Pattern — Step by Step
Below is your complete, easy-to-follow free seed stitch vest pattern. We have broken it down into clear sections so you can knit with confidence.
Sizes and Measurements
This free seed stitch vest pattern includes instructions for three European sizes: 36/38 (40/42) 44/46. To help you choose the right size, here are the corresponding bust circumferences:
- Size 36/38: 100 cm (approximately 39.5 inches)
- Size 40/42: 106 cm (approximately 41.75 inches)
- Size 44/46: 116 cm (approximately 45.75 inches)
The finished length of the vest is 55 (58) 60 cm, which is about 21.75 (22.75) 23.5 inches.
Materials You Will Need
To knit this beautiful vest, gather the following supplies:
- Yarn: Rico “Fashion Cotton Métallisé dk” (53% cotton, 35% acrylic, 12% metallic fiber; 50 g / 130 m per skein). You will need 7 (9) 10 skeins in Quartz Yellow (color No. 018).
- Needles: Straight knitting needles US size 6 (4 mm) and circular knitting needles US size 6 (4 mm) with a 16-inch (40 cm) cable for the neck and armhole bands.
- Notions: Tapestry needle for weaving in ends and sewing seams.
Knitting Techniques and Stitch Patterns
Before you begin, make sure you are familiar with the two main stitch patterns used in this free seed stitch vest pattern.
Seed Stitch (worked flat)
- Row 1: Knit 1, purl 1 across the row.
- Row 2: Knit the purl stitches and purl the knit stitches.
- Repeat these two rows for the seed stitch pattern. Remember to knit every edge stitch on both sides for a neat finish.
Ribbing (1×1 Rib, worked flat and in the round)
- Worked flat (for the bottom band):
- Row 1: Knit 1, purl 1 across.
- Row 2: Knit the knit stitches and purl the purl stitches.
- Worked in the round (for the neckband and armhole bands):
- Round 1: Knit 1, purl 1 repeat around.
Gauge
Achieving the correct gauge is essential for the perfect fit. Using your US size 6 needles in seed stitch:
- 22 stitches and 38 rows = 4 inches (10 cm) square.
Knitting Instructions for the Back
- Cast On and Bottom Band: Using straight US size 6 needles, cast on 110 (118) 128 stitches. Work in 1×1 ribbing as described above for 5 cm (about 2 inches), remembering to knit the first and last stitch of every row as edge stitches.
- Body in Seed Stitch: Switch to the seed stitch pattern. Continue straight until the piece measures 37 (38) 39 cm (approximately 14.5, 15, or 15.25 inches) from the cast-on edge. While working the body, increase 1 stitch at the beginning and end of every 10th row, a total of 6 (7) 8 times. Incorporate these new stitches into the seed stitch pattern. You should now have 122 (132) 144 stitches on your needle.
- Shape the Armholes: Bind off 4 stitches at the beginning of the next two rows (once on each side) to form the armholes. You will have 114 (124) 136 stitches left.
- Continue Armhole Shaping: Decrease at the beginning and end of every other row (right side rows) as follows:
- For size 36/38: Bind off 1 time 2 stitches, then 2 times 1 stitch.
- For size 40/42: Bind off 1 time 3 stitches, then 3 times 1 stitch.
- For size 44/46: Bind off 1 time 3 stitches, then 5 times 1 stitch.
- After these decreases, you will have 106 (112) 120 stitches remaining.
- Work the Upper Body: When the armhole depth measures 7 (9) 10 cm (approximately 2.75, 3.5, or 4 inches), increase 1 stitch at the beginning and end of the next row. Repeat these increases in every 10th row two more times. When the armhole depth measures 18 (20) 21 cm (approximately 7, 8, or 8.25 inches), bind off all 112 (118) 126 stitches.
Knitting Instructions for the Front
- Work the front identically to the back until the piece measures 50 (53) 55 cm (approximately 19.75, 20.75, or 21.75 inches) from the cast-on edge.
- Shape the Neckline: On the next right-side row, bind off the center 22 (20) 22 stitches and work both sides of the neckline separately.
- Neckline Decreases: On the inside edge of the neckline, bind off stitches at the beginning of every other row as follows: 1 time 5 stitches, 1 time 4 stitches, 1 time 3 stitches, 1 time 2 stitches, and 6 times 1 stitch. You will have 25 (29) 32 stitches remaining for the shoulder.
- Finish the Front: Continue straight until the front measures the same length as the back (55, 58, or 60 cm / 21.75, 22.75, or 23.5 inches). Bind off all remaining shoulder stitches. Repeat the same neckline shaping on the other side.
Finishing and Assembly
- Seams: Sew the shoulder seams together using a tapestry needle and a mattress stitch for an invisible finish.
- Neckband: Using your 16-inch circular needles and the right side facing you, pick up approximately 106 (110) 114 stitches evenly around the neckline. Work in 1×1 ribbing in the round for 3 cm (just over 1 inch). Bind off all stitches loosely in pattern.
- Side Seams: Sew the side seams from the bottom up to the armhole bind-off.
- Armhole Bands: With your circular needles, pick up approximately 72 (80) 90 stitches around each armhole. Work in 1×1 ribbing in the round for 3 cm (just over 1 inch). Bind off all stitches loosely in pattern.
Wear Your Handmade Vest with Pride
You have just completed a timeless garment using this free seed stitch vest pattern. The beautiful texture of the seed stitch combined with the elegant drape of the metallic-cotton blend makes this vest a true statement piece. Remember, this free seed stitch vest pattern is just a starting point—feel free to experiment with different yarns and colors to make it uniquely yours. Now that you have this versatile free seed stitch vest pattern in your library, you can knit it again and again for gifts or for your own wardrobe.